
This post may contain affiliate links. For more information, see our privacy policy.
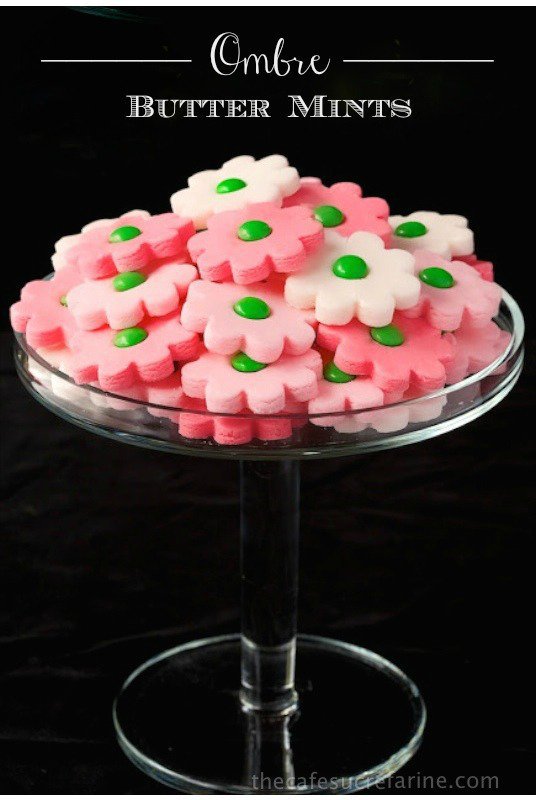
We'll be heading to England in ten days to spend the holidays with family....... but that hasn't kept me out of the kitchen! I thought I'd share a technique and festive recipe I created recently for old-fashioned butter mints ........... with a new-fangled twist. Instead of rolling the mints into small round balls and flattening them with a fork (how these mints are traditionally made), I rolled out the dough and used a small flower-shaped cookie cutter to form them.
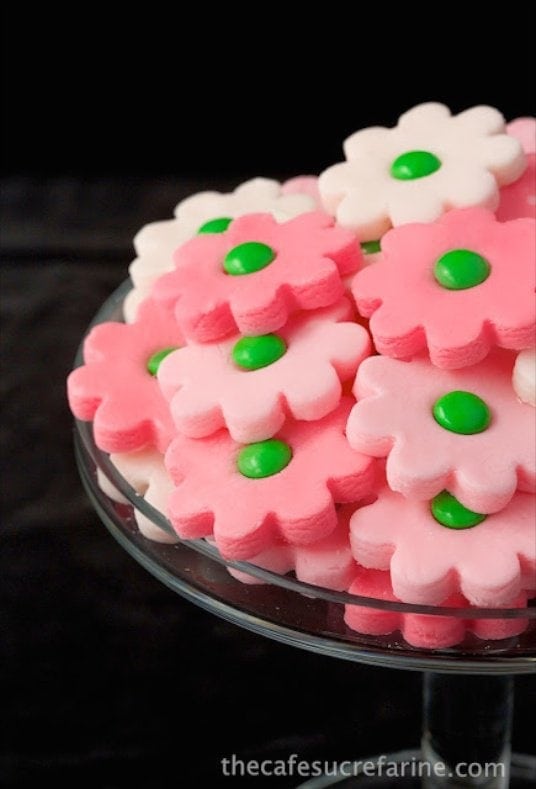
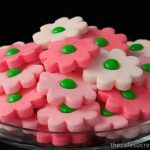
While they were still soft, I pressed an M&M into each center. As you can see, the results are fun and definitely festive!
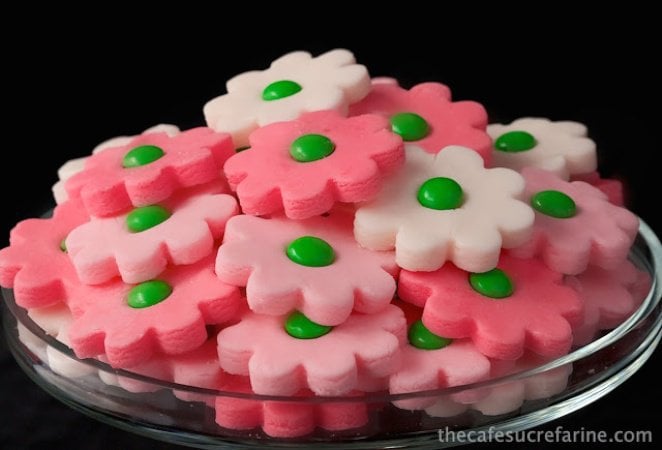
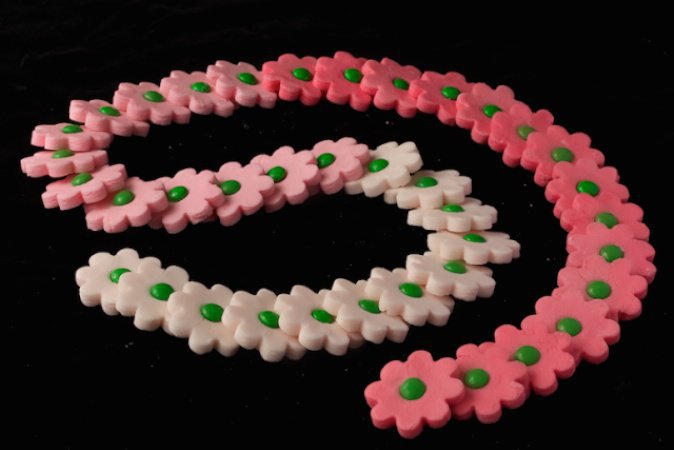
I love the ombre effect that's so popular right now with cakes, cupcakes and other baked goods where varying shades of the same color fade into each other. I decided to do an ombre of pink with my mints.
Last week, I received a lovely package from McCormick with a wide assortment of their delightful extracts and food coloring sets. I used the peppermint extract and the neon pink food coloring to make my mints, but you really could add any flavor and color to these mints. I'm thinking my next batch might be lemon and lime flavored mints in a range of yellow and green hues. Check out McCormick's pure flavoring extracts and colors and let your imagination run wild!
These mints make really fun gifts, packaged in small clear bags tied with a pretty bow; but they would also be a fun, festive addition to your holiday cookie tray. Another idea would be to pile the pretty mints on a cake stand and serve them on a holiday buffet table. They'll add a cheerful splash of color and guests will love the buttery mint flavor.
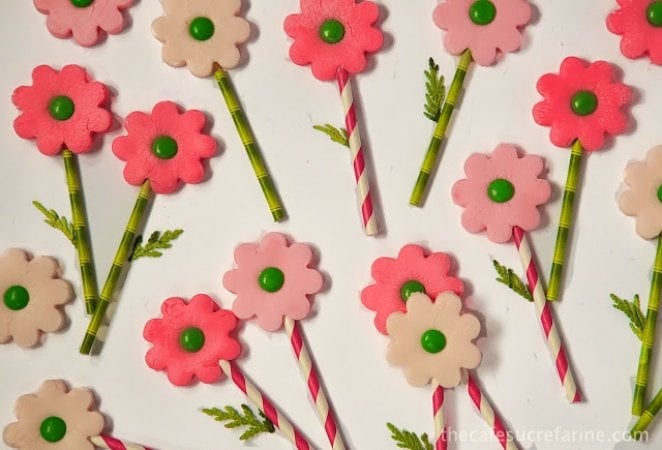
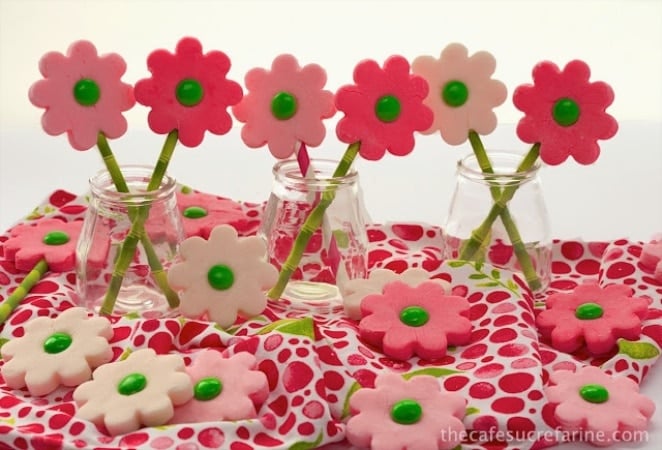
I turned some of my Ombré Butter Mints into lollipops by inserted a small skewer which I covered with a paper straw.
These would be fun to have in a vase near the door, As guests are leaving they can snatch a sweet treat. Believe me, kids of all ages will adore them!
P.S. If you've got friends, neighbors, teachers, hairdressers, mailmen, delivery people, etc. on your Christmas list and like to give them a small gift to say "I care", be sure to check back tomorrow as we'll be sharing some really fun Peppermint Bark Shortbread and 10 other fabulous gifts from the kitchen.
- 4 ounces cream cheese I use low-fat, not non-fat, at room temperature
- ½ stick or 2 ounces butter, at room temperature
- 6 cups powdered sugar plus extra for dusting work surface.
- 1 teaspoon peppermint extract
-
Combine butter and cream cheese in the bowl of an electric mixer and beat until soft and fluffy. Add powdered sugar and vanilla and continue to beat until mixture is smooth and begins to form into a ball. It will seem like way too much powdered sugar at first. Just keep mixing and it'll come together in about 4-5 minutes.
-
Add one drop of pink (or any other color) food coloring to dough and mix until well combined.3. Remove dough from mixing bowl and divide into thirds. Set one-third aside and cover with plastic wrap.
-
Combine other two-thirds to form a ball. Add three more drops of food coloring. Keeping the work surface dusted with powdered sugar, knead dough until all color is incorporated.
-
Divide dough in half and set one half aside (cover with plastic wrap). Add 5 more drops of food coloring to last third of dough and knead until color is completely incorporated.
-
You will have 3 balls of dough in varying shades. Roll out each ball of dough into a circle, ¼ inch thick, Cut into desired shapes with a cookie cutter. If dough sticks to cutter, dip cutter in powdered sugar before cutting shapes.
-
For lollipops, be sure to roll the dough at least ⅓ of an inch thick. You need the thickness to be able to make the "stem". After they're rolled and cut, gently insert a small wooden skewer (mine were about 5-inches long, but the length will depend on how long you want your "stems") into the side of one of your cutout mints. You want the tip of the skewer to go about ½ inch into the mint for support. Slip a paper straw over skewer, gently inserting only the end of the straw into the mint. Repeat with the rest of the mints. You may have to cut the straws a bit shorter, according to the length of your skewers.
-
Allow mints to dry on pan or on a wire cooling rack for a least 8-10 hours. These mints DO NOT need to be refrigerated. ENJOY!
For the flowers, press an M&M in the center while still soft
Judy Tiziani says
OMG! These are gorgeous! And I love your lemon and lime suggestion...
Thank you again, loving your page..
Judy
Chris Scheuer says
Thanks so much, Judy 💕
Lisa {Authentic Suburban Gourmet } says
Oh my gosh - these are so incredibly cute! I need to make these. Nicely done Chris!
lena says
sooooo lovely!! not only they look pretty, they sound delicious too with cream cheese! i love all your ideas of making them into lollipops and in the vase too! Genius!
Sandra Lee says
My gosh these are pretty and you are so creative. You and Scott are a fabulous team!
www.you-made-that.com says
These mints are too cute and I'm in love with the pink ombré too.
GLENDA CHILDERS says
The women in our church in Spokane made about 800 of these mints for our wedding (36 years ago) ... but this twist would be really fun. There is a lot of creativity going on around here, Chris and Scott.
Fondly,
Glenda
Tricia @ Saving room for dessert says
Chris these are picture perfect! I bet they are so tasty. Beautiful!
Andrea_TheKitchenLioness says
Chris, this is the first I have heard (or seen) of Butter Mints - these treats are the cutest treats that I have seen in a long time - absolutely perfectly made and the pictures are so wonderful, I cannot seem to take my eyes off them! The color scheme that these mints have is dreamy and so very pretty!
Another wonderful creation, dear friend!
Cathleen says
Love, love, love. Especially the pics with the straws. Butter mints - love.
Serena Bakes Simply From Scratch says
I love the ombre of the butter mints so gorgeous!
Kim G. says
These are soooooo pretty Chris! Love love these!
Kathryn Ferguson Griffin says
Oh, goodness! They look so cute and delicious! Great combo. Popping in for the tour! Feel free to share this or any other post at my Make it Pretty Monday party which is currently live. Here is the link if you want to check it out. http://thededicatedhouse.blogspot.com/2013/12/make-it-pretty-monday-week-79.html Hope to see you at the bash! Toodles, Kathryn @TheDedicatedHouse
Red Rose Alley says
Hello Chris,
The butter mints look delightful, and I want some of that Peppermint Bark Shortbread! These would make great gifts. It's so nice to meet new friends, and we'll be doing our post on Wednesday, so stop by if you get a chance.
Merry Christmas.
~Sheri at Red Rose Alley
Laura (Tutti Dolci) says
These are such a fun idea, I love the flower shape! I can just imagine how popular these mints would be with your granddaughters :).
tammy j says
following the tour from dewena's valley view . . . across the way!
how my mother would love this post. she made those mints every christmas! she would have delighted in this approach to them. and that little touch of chocolate with the M&M ! brilliant!
how i envy your trip to london.
be safe. have a wonderful time!
A Little about Ally! says
How CUTE are these! And, as I was reading and looking at the pixs, I was ready for some really complicated recipe w/lots of ingredients! Boy! You just made me really happy! Just gorgeous, Chris!!
Ginny says
These are absolutely gorgeous, and you could change the color for the occasion, like green for St. Patrick's Day
Veronica Roth says
Hi Chris, very pretty flowers. 🙂 I'm off to England in a couple of days too, to our home there for Christmas. It's warmer there right now than here in Vancouver! I know...outrageous. 🙂
Debra Eliotseats says
Butter mints make me nostalgic. Mom and grandma would always make these for special occasions. Yours look so beautiful!