
This post may contain affiliate links. For more information, see our privacy policy.

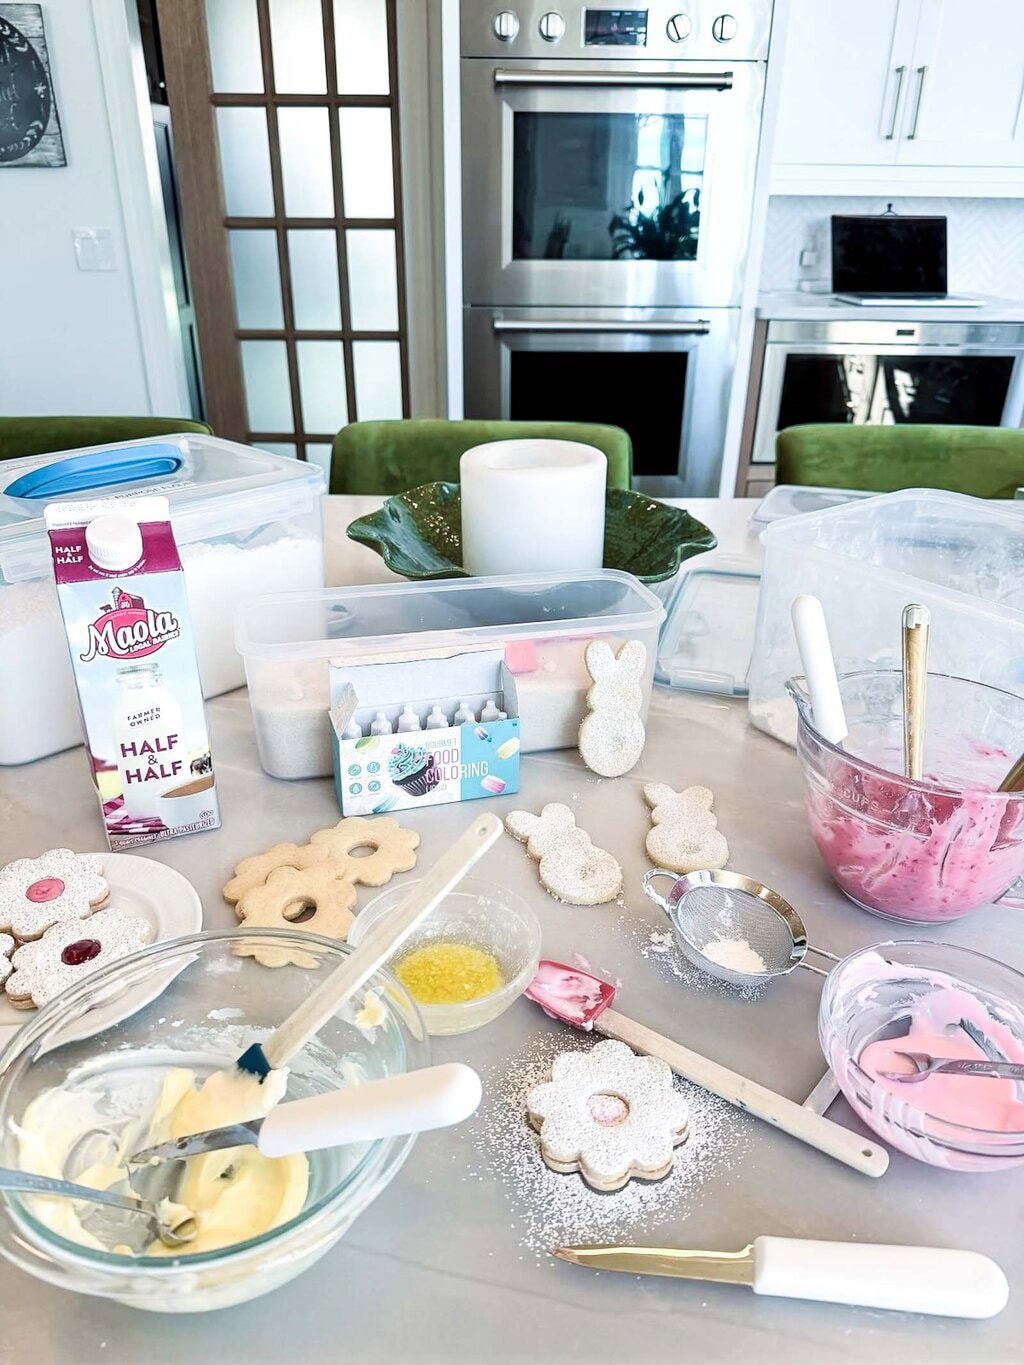
You would have laughed if you'd walked into my kitchen last week. I was in full-on "create a signature 2026 Easter cookie" mode… flour on the counters, floor (and all over me), cookie cutters everywhere, jam, frosting, food coloring, powdered sugar...

In the midst of it all, our daughter-in-law, Lindsay, texted to say she was putting together a post on Recipes to Cook with Kids. I grabbed my phone, snapped the picture below, and texted her back, "If you could see my kitchen right now, you'd think there had been a dozen kids in here; it's such a mess!" But nope… it was just me, having fun dreaming up a new cookie for spring.
And these little cuties?
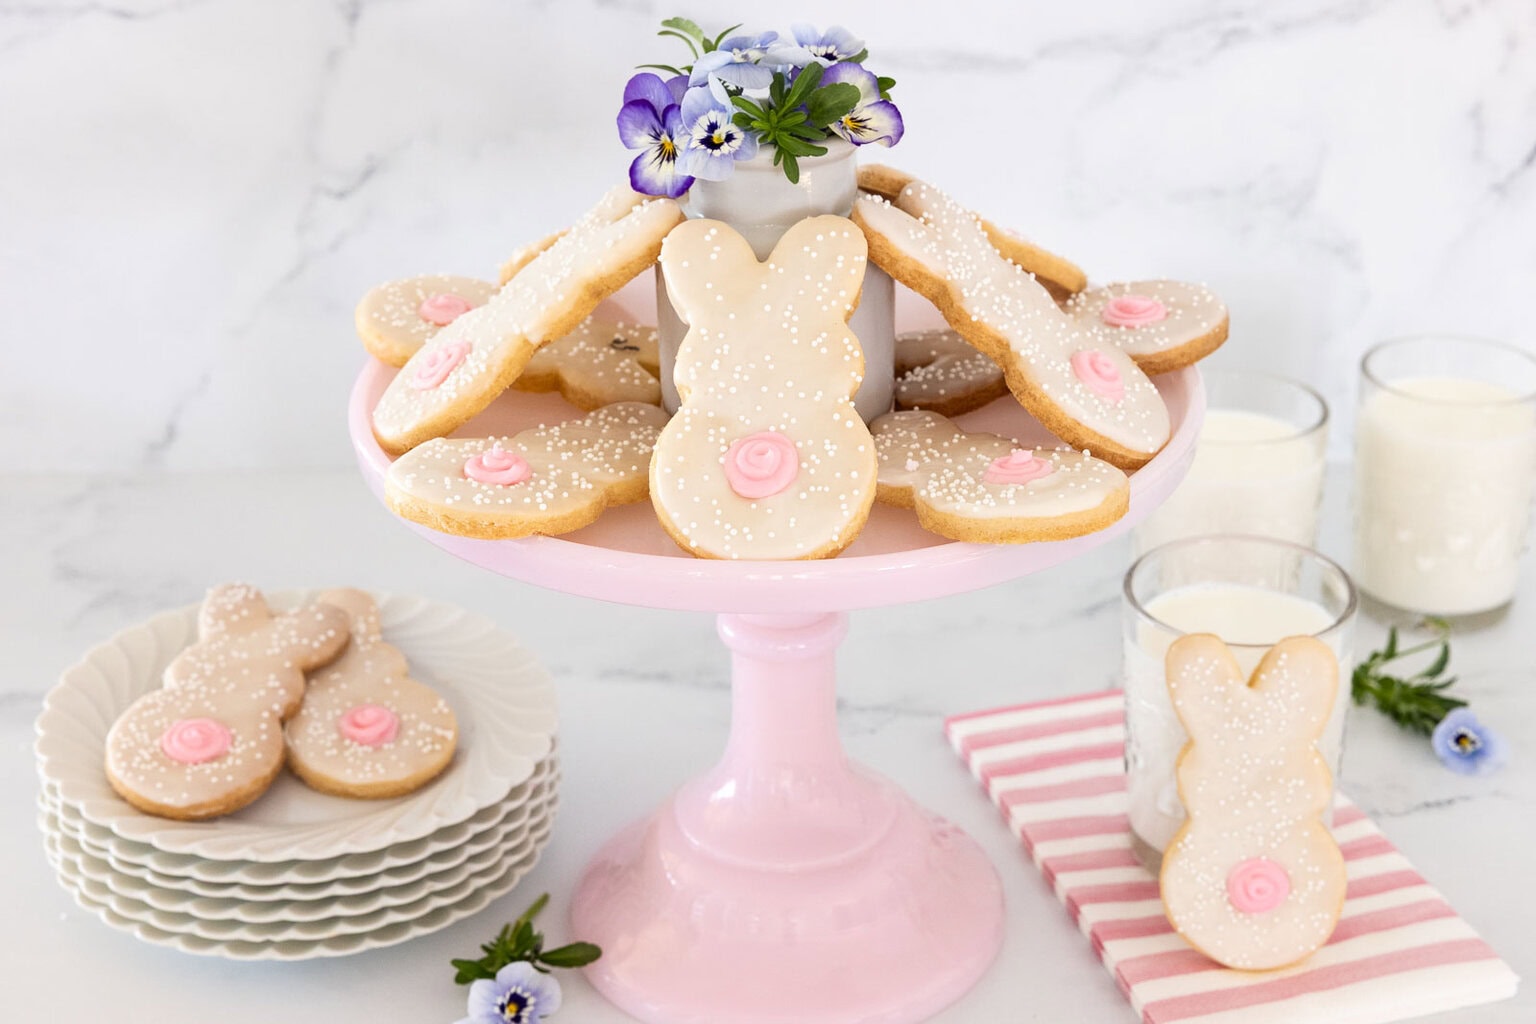
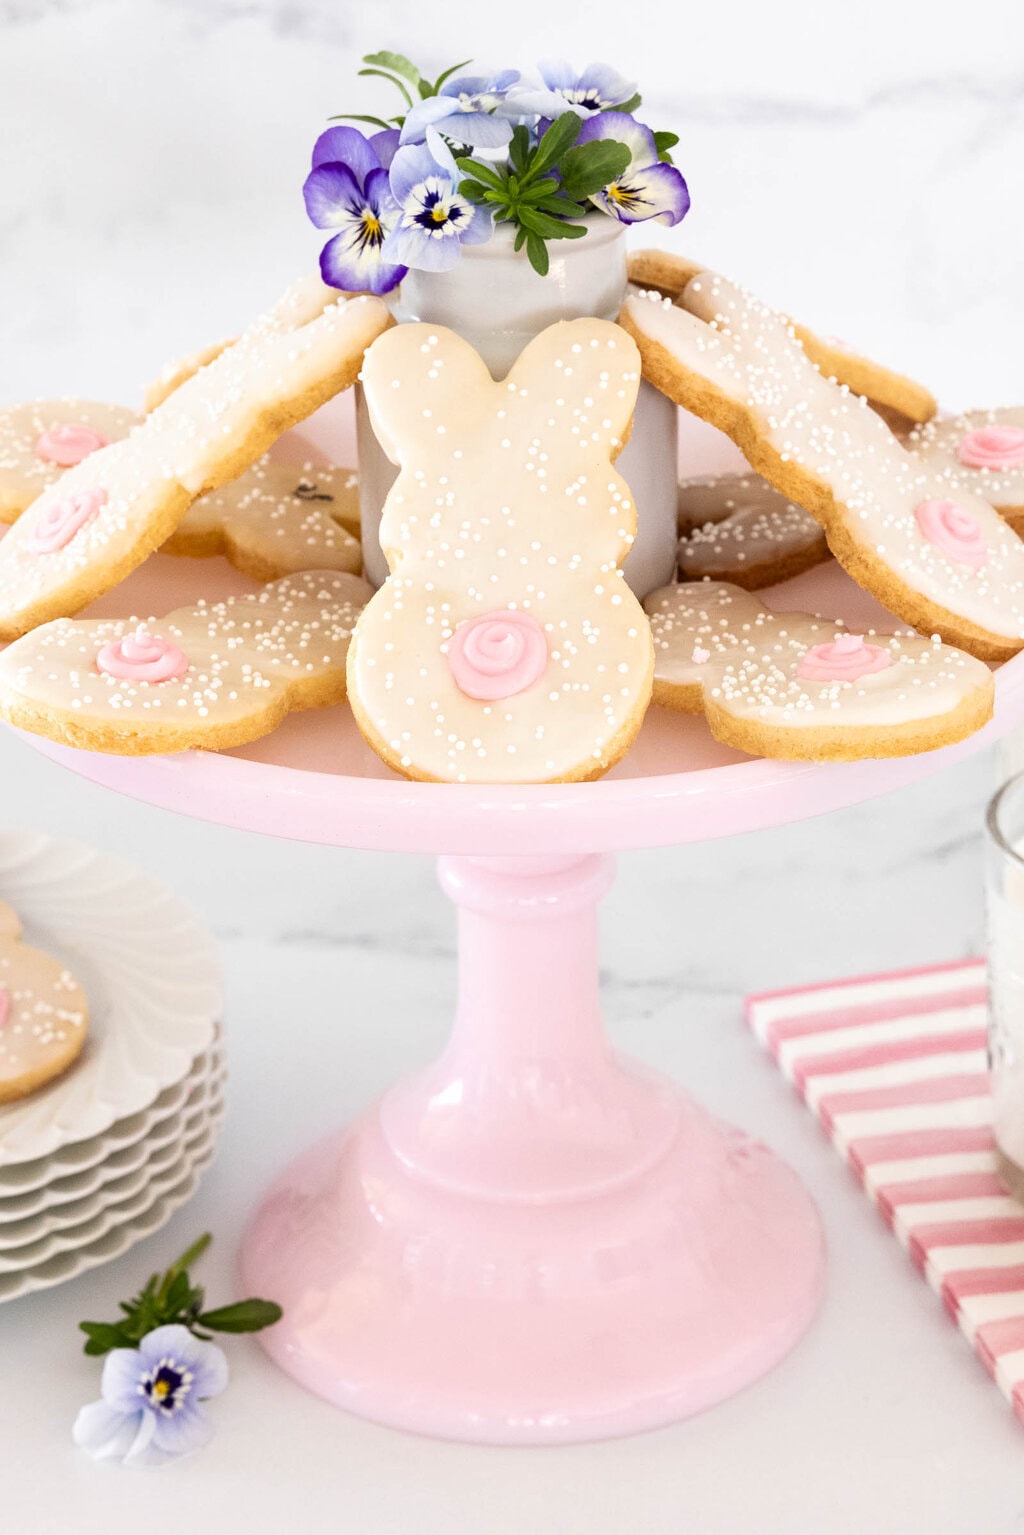
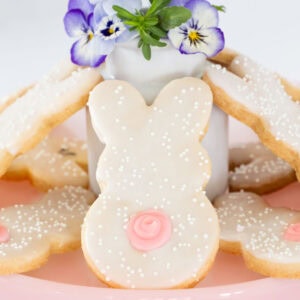
They could definitely win a bunny-popularity contest! These Easter Bunny Shortbread Cookies (I've nicknamed them Peter Pink-Cottontail Cookies) are everything I was hoping for: melt-in-your-mouth delicious, easy, and a little whimsical. I knew they'd be perfect for Easter baskets, spring desserts, baking adventures with kids, and they also make the most delightful homemade gifts for friends, neighbors, teachers - anyone who could use a little springtime smile!
The clear winner
Why did these Easter Bunny Shortbread Cookies come out on top? Lots of reasons!
- Their buttery, melt-in-your-mouth texture - butter, sugar, flour, and a touch of cornstarch are the simple ingredients that make these cookies irresistibly tender and delicate.
- An easy, no-fuss dough - no mixer needed! Just a bowl, a spoon (or spatula), and a few minutes of mixing.
- They hold their shape beautifully - this dough is perfect for cut-out cookies that keep their shape in the oven.
- Make-ahead friendly - these cookies can be made up to a week in advance and stored in an airtight container. They also freeze well.
- The simple decorating technique - I use our easy "Dip, Drip and Flip" glazing trick (see the video below) and finish things off with a swirl of pink buttercream to create the "cottontail".
Ingredients overview
For the shortbread dough
This simple shortbread dough comes together with pantry staples: butter, sugar, flour, and cornstarch. The cornstarch is the secret ingredient that gives these cookies their signature tender, melt-in-your-mouth texture. A splash of vanilla adds warmth, while a pinch of salt balances the sweetness and enhances the buttery flavor.
For the glaze
The glaze is a quick mix of powdered sugar, half-and-half, and a hint of almond extract, creating a smooth, creamy coating that sets up beautifully. It's thick enough to give the cookies that pretty, opaque finish, but still fluid enough for easy dipping. The subtle almond flavor pairs perfectly with the buttery shortbread.
For the pink buttercream (the "cottontails")
The cute bunny tails are made with a simple buttercream of butter, powdered sugar, and cream, flavored with vanilla and just a touch of almond extract. It's whisked to a thick, pipeable consistency so you can create that sweet little swirl that makes these cookies extra special. No piping tips are needed, just a pastry bag or a ziplock bag.
A Sweet Little Easter Tradition
There's just something about these cookies that makes people smile.
Maybe it's the soft, buttery texture… maybe it's that smooth, glossy glaze… or maybe it's those adorable little pink "cottontails" that make them almost too cute to eat. Whatever it is, these Easter Bunny Shortbread Cookies have quickly become one of those recipes I know we'll come back to year after year.
They're simple enough for a relaxed afternoon of baking, special enough for Easter baskets and spring gatherings, and absolutely perfect for sharing with friends, neighbors, and family.
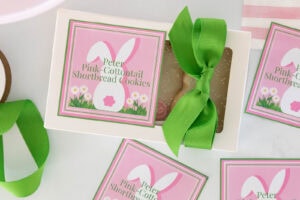
And if you love giving homemade treats (the best kind of gift!), we've created some free Peter Pink-Cottontail labels to make your cookies feel extra special. Just tuck a few into a box or bag, add a ribbon and one of these labels, and you've got the cutest little spring gift!
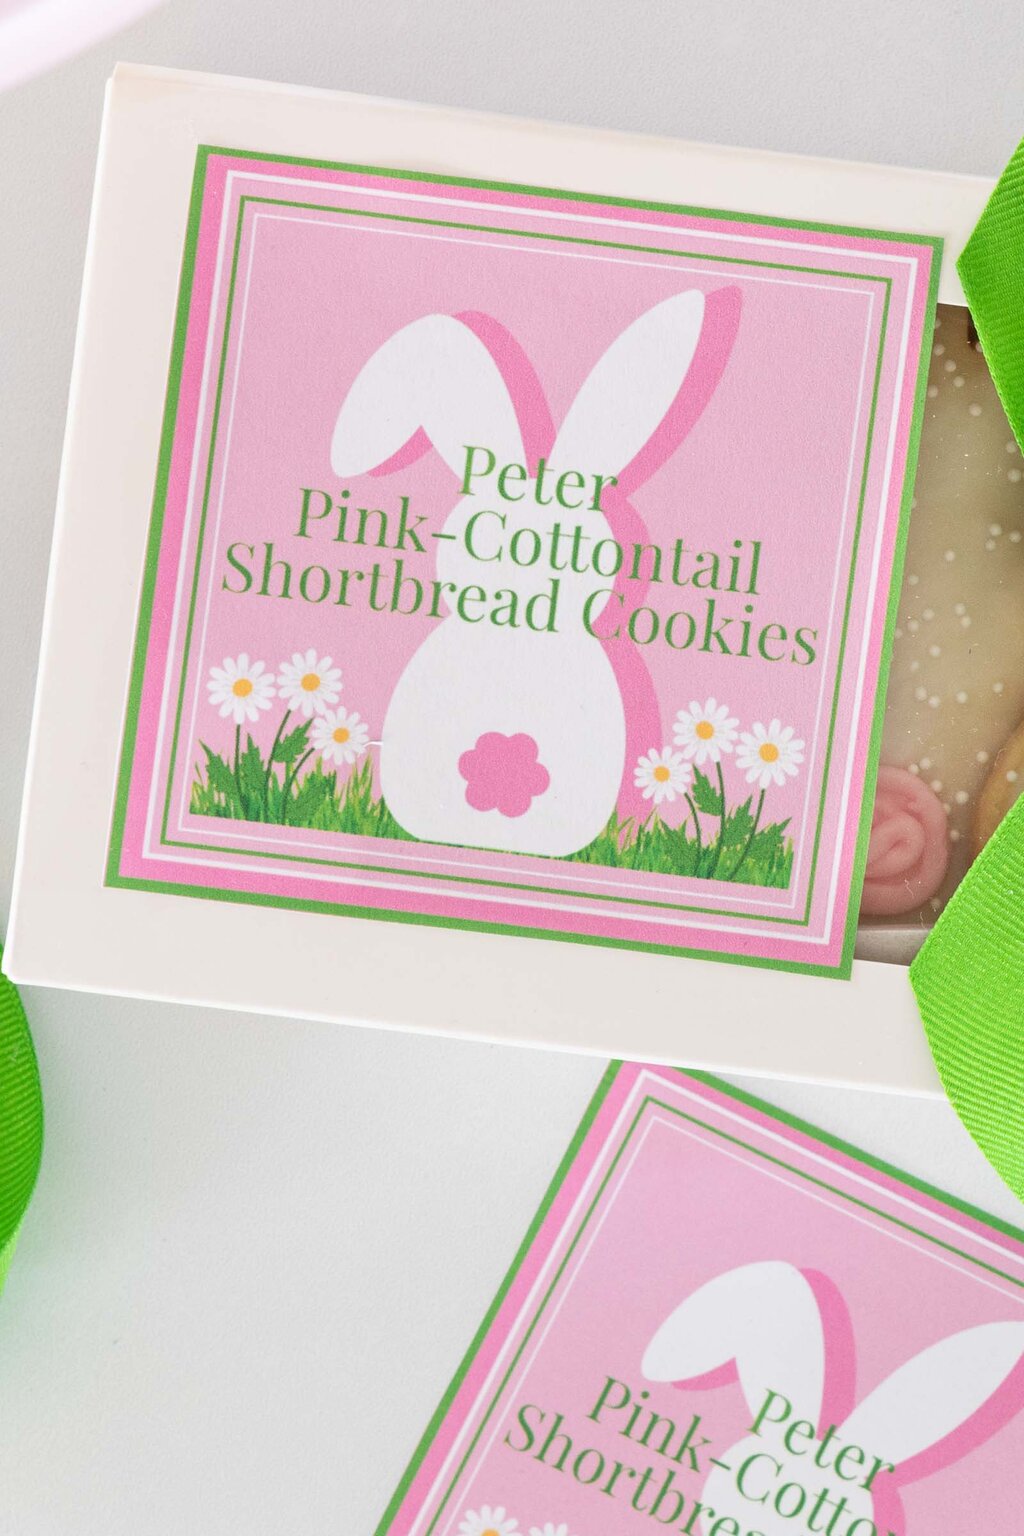
You can download the free printable labels below and have them ready in minutes.
Get your free printable labels...
Whether your kitchen is filled with kids… or just you, happily making a mess, these cookies are guaranteed to bring a little extra joy to your spring celebrations. 💗

- You'll need a bunny cookie cutter for this recipe. This is the full bunny cutter from this set. They also come in a set with three different size full bunnies.
- Start with very soft butter - your butter should be soft enough to mix easily with a spoon, which makes the dough smooth and easy to work with (no mixer needed!).
- Don't skip the cornstarch - cornstarch gives the cookies that delicate, melt-in-your-mouth texture that makes shortbread so special.
- No need to chill the dough - the dough is a dream to work with, but a quick chill after rolling and cutting the cookies helps them hold their shape and keeps those bunny edges nice and clean.
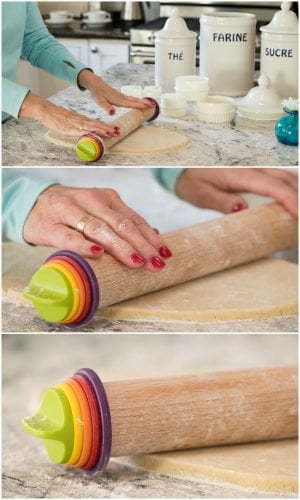
- Roll evenly for consistent baking - aim for about ¼-inch thickness so all the cookies bake evenly and look uniform. I'm not a good cookie roller, so I use this graduated (magical) rolling pin that makes it impossible to roll the dough unevenly.
- Flatten gently after the first bake - the cookies will puff up just a bit in the oven, so I like to give them a quick press with a flat spatula. This creates a nice, smooth surface for glazing.
- Check your glaze consistency - the glaze should be thick but pourable; if it's too thin, it won't coat nicely; too thick and it won't smooth out, but it's easy to adjust with a bit more powdered sugar or half & half.
- Half and half - if you live outside of North America, you might not be familiar with half & half, a convenience product that's often used in coffee. It's simply a combination of half milk and half cream.
- Let the glaze set before adding tails - his keeps the buttercream from sliding and gives you that neat, defined finish.
- Pipe simple swirls for the tails - start in the center, swirl outward, then back in, it doesn't have to be perfect to be adorable!
Scroll Down for the Recipe - or Save It to Your Inbox
We'll email you the recipe so it's easy to save, print, or share.
Easter Bunny Shortbread Cookies (Peter Pink-Cottontail Cookies)
Ingredients
For the shortbread dough:
- ½ cup granulated sugar
- 8 ounces very soft butter, I use salted butter
- 1 teaspoon vanilla extract
- ¼ teaspoon kosher salt, use ½ teaspoon if using unsalted butter, I use Morton's Kosher Salt
- ⅓ cup cornstarch
- 2 cups all-purpose flour
For the glaze:
- 2 cups powdered sugar
- ¼ cup half-and-half, plus more as needed
- ¼ teaspoon almond extract
For decorating:
- white nonpareils, optional
For the pink buttercream tails
- 1 tablespoon soft butter
- 1 cup powdered sugar
- 2-3 tablespoons half & half
- ½ teaspoon vanilla extract
- a few drops of almond extract
- 1-2 drops pink or red food coloring
Instructions
Prepare the pans:
- Line two sheet pans with parchment paper and set aside.
Make the shortbread dough:
- In a large bowl, stir the butter until smooth and creamy.
- Add the sugar and mix until fully combined. Stir in vanilla and salt.
- Add cornstarch and mix until incorporated. Add flour and continue mixing until the dough begins to come together (it will look crumbly at first).
- Turn dough onto a work surface and knead briefly (about 30 seconds) until smooth.
- Divide dough in half.
- Roll and cut the cookies
- Lightly flour your work surface and rolling pin. Roll dough to ¼-inch thickness.
- Cut into bunny shapes and place on prepared pans. Gather scraps, reroll and continue cutting.
- Repeat with remaining dough.
Chill:
- Refrigerate cut-out cookies (uncovered) for at least 30 minutes or up to 12 hours.
Bake:
- Preheat oven to 350°F. Bake cookies for 8 minutes.
- Remove from oven and gently flatten any puffed areas.
- Press a shallow indentation (about ½-inch) where the bunny tail will go.
- Return to oven and bake an additional 5-8 minutes, until edges are lightly golden.
- Cool on pan for 5 minutes, then transfer to a rack to cool completely.
Make and apply glaze:
- Whisk together powdered sugar, half-and-half and almond extract until smooth. Adjust consistency as needed.
- Pour glaze into a shallow bowl. Dip cookie tops into glaze, lift and allow excess to drip off for 15-25 seconds or until most of the excess icing has dripped off.
- Flip right-side up and gently jiggle to smooth. Use your finger to wipe off any excess glaze around the edges.
- Sprinkle with nonpareils if desired.
- Let glaze set for at least 30 minutes.
Make the bunny tails:
- Whisk together butter, powdered sugar, vanilla, almond extract, 1 drop pink or red food coloring, and 2 tablespoons half-and-half. Add more cream as needed for a thick, pipeable consistency. If you prefer a deeper pink color, add another drop of food coloring.
- Transfer to a piping bag and pipe a small swirl in the indentation to create the bunny tail.
Store:
- Allow cookies to dry for several hours (or overnight if stacking). Store in an airtight container at room temperature.
Notes
- Use very soft butter: It should be soft enough to mix easily with a spoon for a smooth, no-mixer dough.
- Don't skip the chill time: This helps the cookies hold their shape and prevents spreading.
- Roll evenly: Aim for ¼-inch thickness so cookies bake uniformly. See tips above in the post.
- Make the tail indentation right after the first bake: This ensures it holds its shape and doesn't puff up. Reinforce after baking, if needed.
- Check glaze consistency: It should be thick but pourable; adjust with more cream or powdered sugar as needed.
- Let glaze set before piping tails: This keeps the buttercream neat and defined.
- For gifting: These cookies store well for several days and are perfect for packaging in boxes or bags with our free printable labels.
Nutrition
Shop Our Café Loves
We’ve gathered our favorite kitchen tools, tableware, and entertaining treasures in one place, the Café Loves store. It’s a wonderful spot to find something special for yourself or the cooks and hosts you love!


Made these cute bunny cookies for Easter gifts and everyone loved them. They all thought they were shortbread cookies. Stuck to your recipe except, instead of the buttercream for their little tails, I cut a mini marshmallow in half for their tails as I was short on time. Christine, every recipe of yours that I’ve made has been perfect and fuss free. Thanks!
Thanks for the excellent review, Donna! It's great to hear how well these cookies turned out for you and about your creative use of marshmallows for the tail. We appreciate you taking the time to let us know how much you enjoyed this recipe!
What makes the tail icing PINK ?
Thanks, Amy, for noticing that. I have amended the recipe!
Is there a link to the bunny cookie cutter?
Hi Karen, sorry, I've added it! It's the first of the Café Tips!
I'm so embarrassed to admit how helpless I truly am. But I looked all through every word of this amazingly delightful cookie article and couldn't find the information that tells me how to shape these sweet bunnies. Is it a specific cookie cutter, or are you rolling and somehow connecting a whole bunch of bunny balls? (As always, please forgive my obtuseness, which I promise is not intentional.)
With apologies! I just found the exact cookie cutter. What a dolt! How would it not have occurred to me to look in the box clearly marked "Halloween Cookie Cutters"? (If I hurry, I can reorganize all these cutters before the grandlings get back from soccer.)
Thanks, John! I added the link but that's so great that you have one in your Halloween box!!