
This post may contain affiliate links. For more information, see our privacy policy.
These buttery, 5-ingredinet Peach Raspberry Thumbprint Cookies are super easy and melt-in-your-mouth delicious!
Have you ever heard the old saying, "Many hands make light work?". It's an old classic proverb that dates back to the early 1300's. It was first recorded in a knightly romance called Sir Bevis of Hampton.

In addition to "making the work light" there's another bonus to "many hands". Fun, lots of fun, especially when it's many little hands coming together to help make the work light...
Now I didn't say many little hands make "calmness", "peacefulness" or "promote organization" - or actually anything along those lines. But fun? Oh yes!
Scott and I had the opportunity to spend a few days with family this past weekend. It was a wonderful time, and with five grandchildren, nine and under, there never seems to be a dull moment. They all love to "help", especially if there's a baking project going on.
Our three oldest granddaughters wanted to do a "cookie sale", similar to the one we did last summer. There are lots of wonderful teaching opportunities when you involve kids in a project like this, and I love being with these little ones, so I didn't waste any time looking for a yummy cookie recipe. I wanted something fairly easy, yet super delicious; it wasn't long before I remembered one of my all-time favorites.

It's a classic thumbprint cookie recipe from Land O'Lakes that's super easy to throw together; with just 5 ingredients: butter, sugar, flour, almond extract and jam. Traditionally, these cookies are made with a little dollop of raspberry jam in the center, but I thought it would be fun to try them with the Peach Raspberry Freezer Jam I made last week.

I was right - the cookie sale was a huge success!
Scott captured the whole adventure with his camera, so I'll let his pictures tell most of the story.
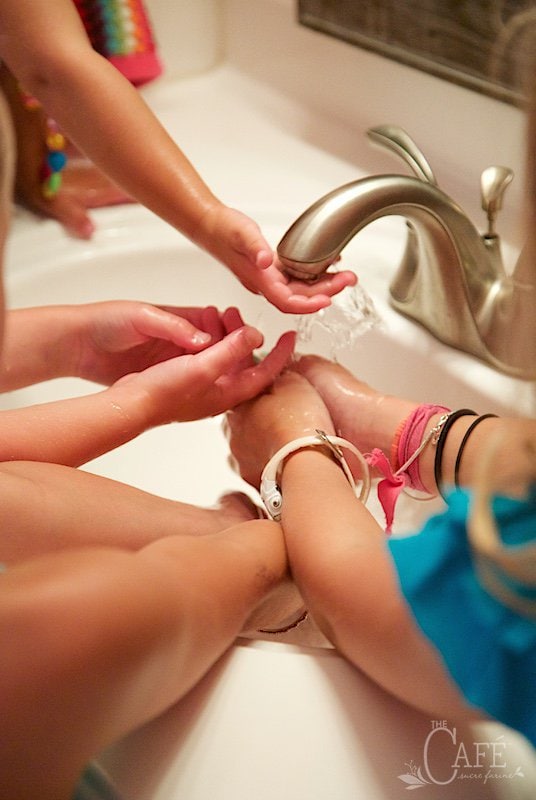
The older ones love to teach their siblings and little cousin the tricks of the trade. Occasionally the younger ones aren't super thrilled to take instruction, but for the most part, this works well. Annie made sure that everyone's hands were clean to start with.
Scrub a dub, dub! Baking and cooking projects are a great way to teach kids about good hand hygiene.
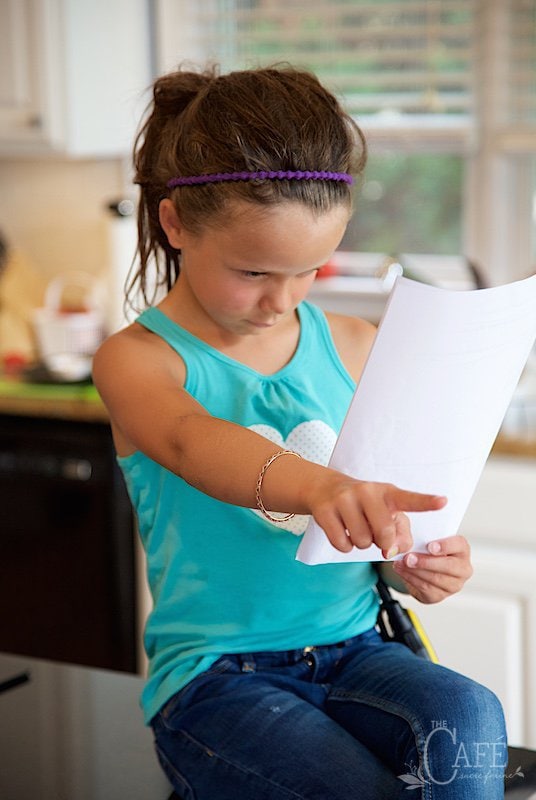
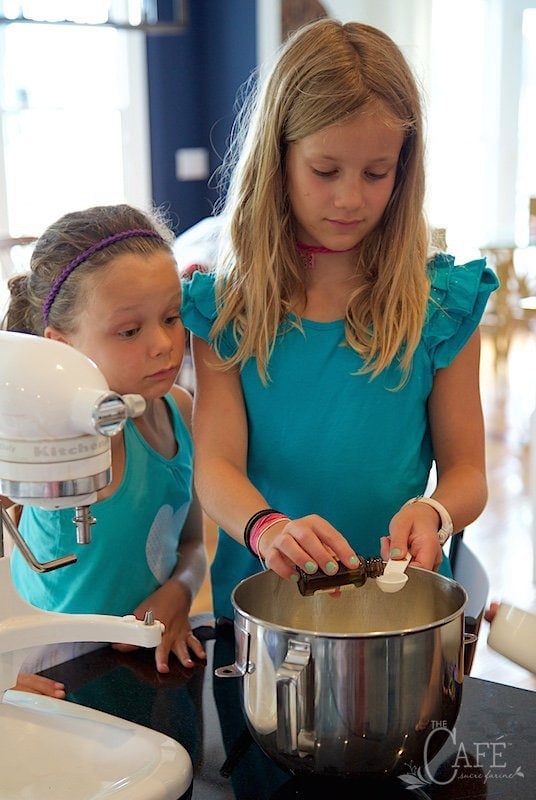
The girls have been cooking with me and their mom for years, and have become quite proficient, so these days, I let them run the show. This time, I gave Elle, who's now 7, a copy of the recipe and responsibility for being "the boss". She did a great job!
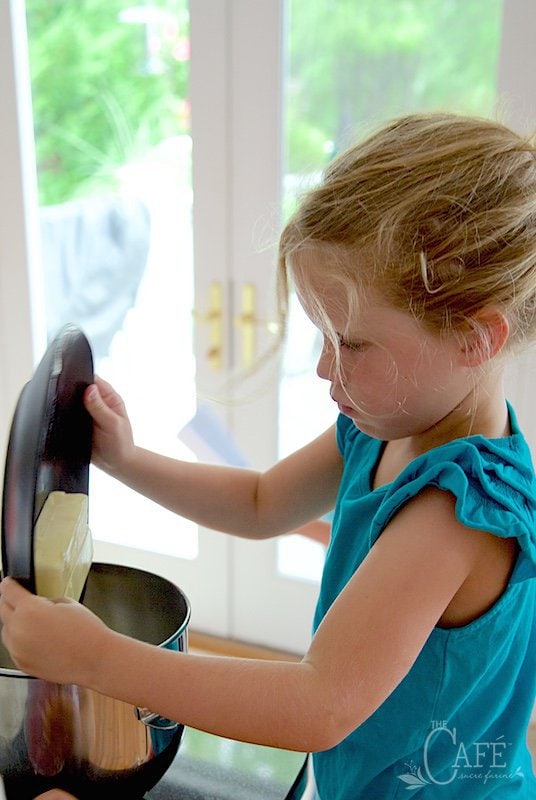
Everyone had a job. Softened butter went in first.
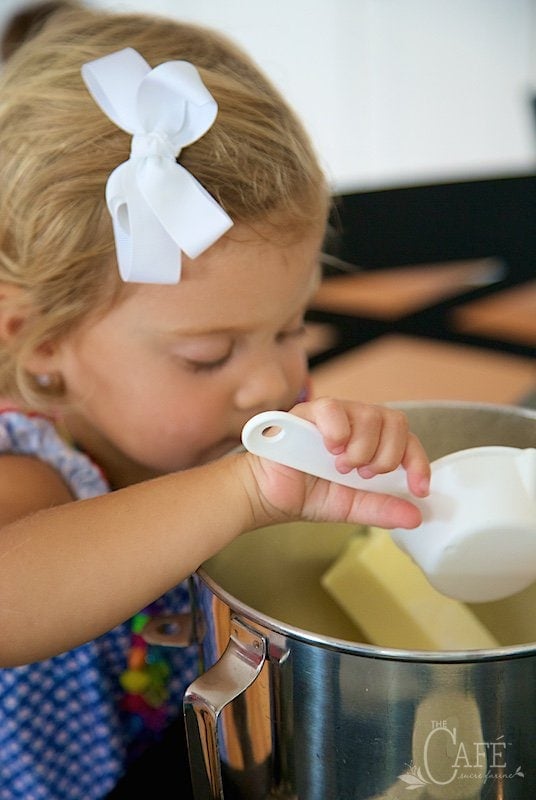
Little Emmy very carefully measured the sugar.
Elle made certain that her older sister was quite accurate with her measuring. That's important when you're baking!!
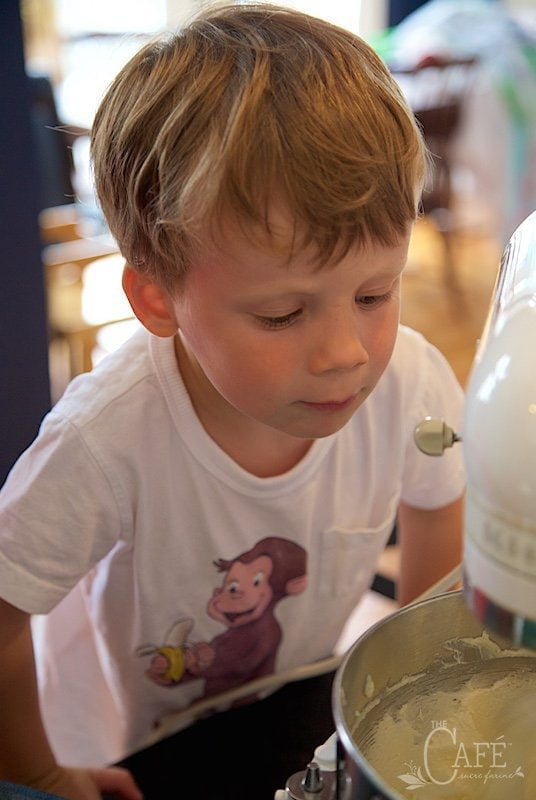
Even little Lukey got in on the fun, making sure the mixer was operating correctly.
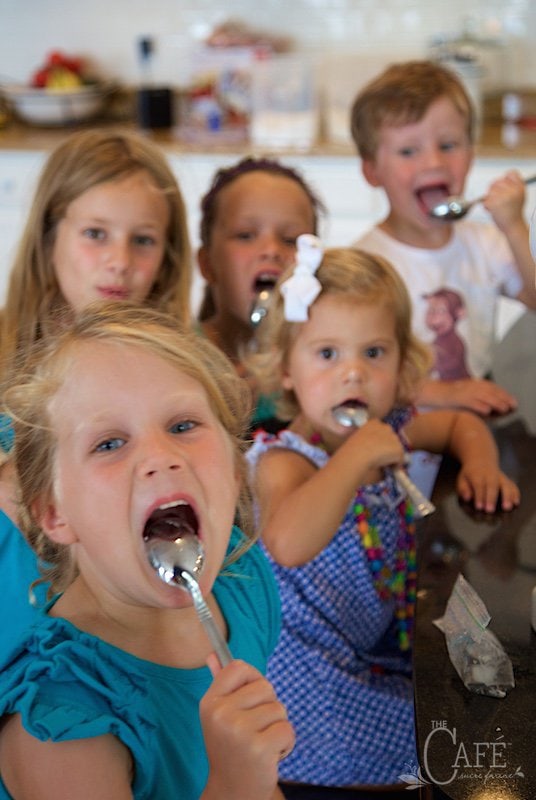
After just a tiny taste of the dough, all of the critics unanimously proclaimed the cookies to be quite "blog worthy"! This was long before they even hit the oven!
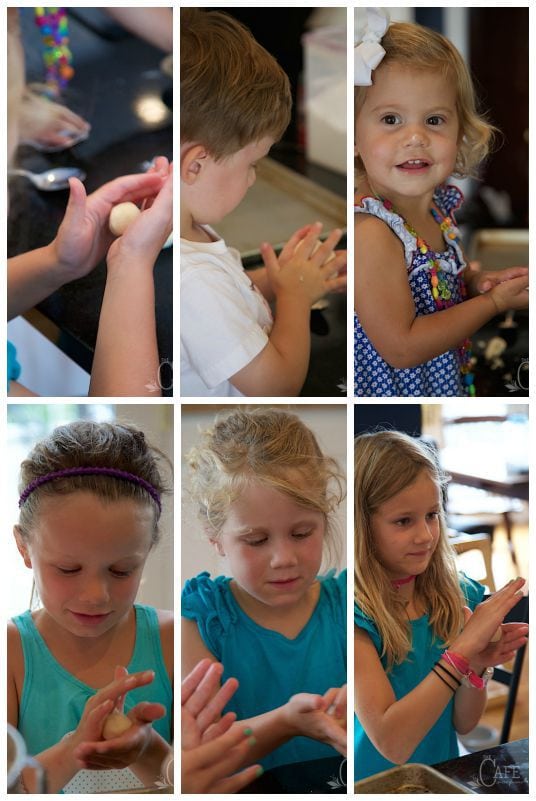
Next it was time to roll, and everyone had their own special technique!
As hard as Emmy tried to imitate her older cousins, that darn dough kept getting flat instead of round!
Okay, we cheated, just a teeny bit - instead of using thumbs we used a round ended utensil to make perfect little circular indentions; but I don't think the name Peach Raspberry Round Ended Utensil Cookies sounds very good, do you?
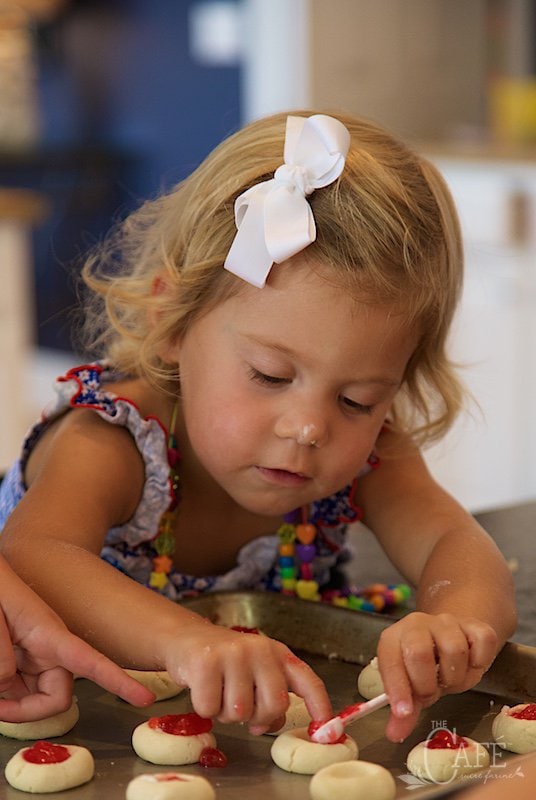
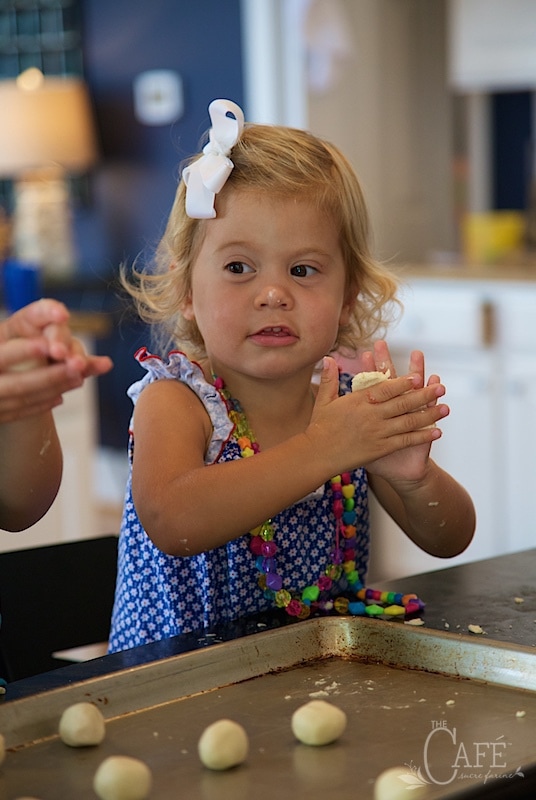
Filling the cookie centers with jam was next and Emmy took the job very seriously, complete with a floured nose and fancy necklace!
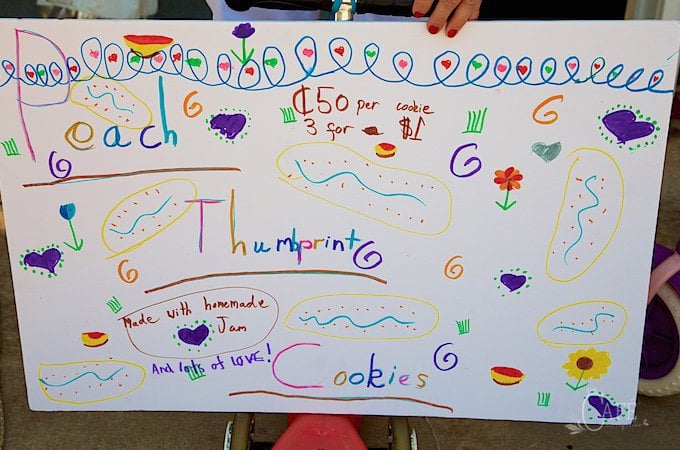
With the cookies in the oven, it was time to transition from baking to marketing. Elle worked hard on a colorful sign to help woo the customers.
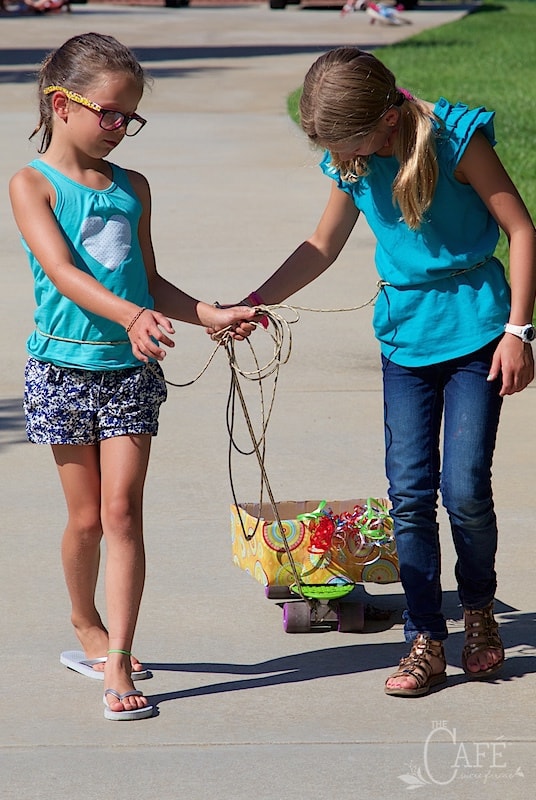
Annie created a fancy little cart to transport the cookies around the neighborhood.
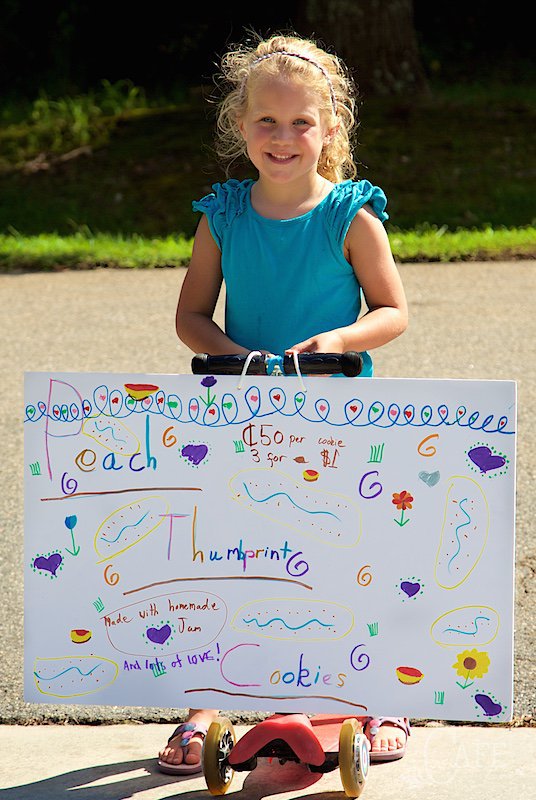
And Lilly? Well let's just say she was in charge of charming the socks off all of the customers. Could you refuse buying cookies ("Really good cookies!" was her sales pitch) from a face like this?
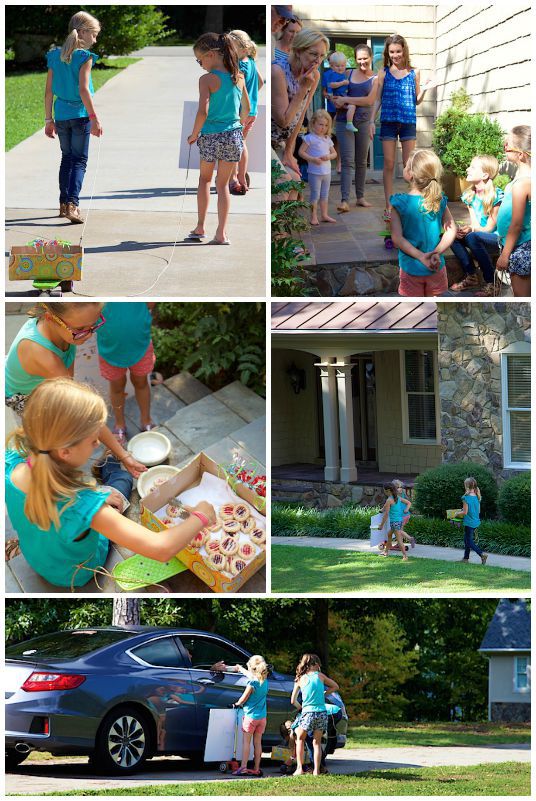
The first sweet neighbors bought 15 cookies, and the girls managed to sell most of the remainder of their double batch to other local "customers". Uncle Nick was super happy there were a few left when they got home and was quick to pull out his wallet. Not only was the sale a success, but lots of fun memories were created!
As you can see, these are great cookies to make with kids, as they come together so easily. But don't let that fool you; they're also so delicious, no one can eat just one.

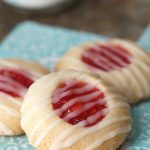
The shortbread base is melt-in-your-mouth delicious and pairs perfectly with the sweet jam center. The jam also gives the cookies beautiful visual appeal.

The recipe calls for a drizzle of icing, but they're also wonderful plain or with a simple sprinkle of powdered sugar.

We made most of the cookies with the Peach Raspberry Freezer Jam, but the girls also wanted to try a few with my Sweet Cherry Freezer Jam. They couldn't decide which they liked better! Feel free to use your favorite jam.
- For the cookies:
- 1 cup butter* softened
- ⅔ cup sugar
- ½ teaspoon almond flavoring
- 2 cups all-purpose flour
- ½ cup Peach Raspberry Freezer Jam or your favorite jam
- For the glaze:
- 1 cup powdered sugar
- 2-3 teaspoons half & half or milk
-
Combine softened butter, sugar and ½ teaspoon almond flavoring in bowl of a stand mixer.
-
Beat at medium speed, scraping bowl often, until soft and fluffy
-
Add flour; beat at low speed, scraping bowl often, until well mixed. Cover; refrigerate at least 1 hour or until firm.
-
Preheat oven to 350°F. Line two sheet pans with parchment paper for easy clean up.
-
Scoop and shape dough into 1-inch balls. I use a small ice cream scoop.
-
Place cookies 2 inches apart onto prepared cookie sheets. Make an indentation in center of each cookie with thumb (edges may crack slightly) or a round-ended utensil. Fill each indentation with about ¼ teaspoon jam.
-
Bake 14-18 minutes or until edges are lightly browned.
-
Let stand 1 minute on cookie sheets then remove to cooling rack. Cool completely.
-
Combine all glaze ingredients in bowl with whisk until smooth. Drizzle over cookies.
-
You can also serve these cookies plain or with a dusting of powdered sugar.
*The recipe does not call for salt. I used salted butter but it you use unsalted butter you might want to add a pinch.
Two little decorating tricks:
1.) If I want the cookies to look super pretty, I add the ¼ teaspoon of jam (as in the instructions, step 6) before baking and then I remove them from the oven after 10 minutes and add a teeny bit more jam to fill the craters. I finish baking them for the remainder of the time as instructed in step 7.
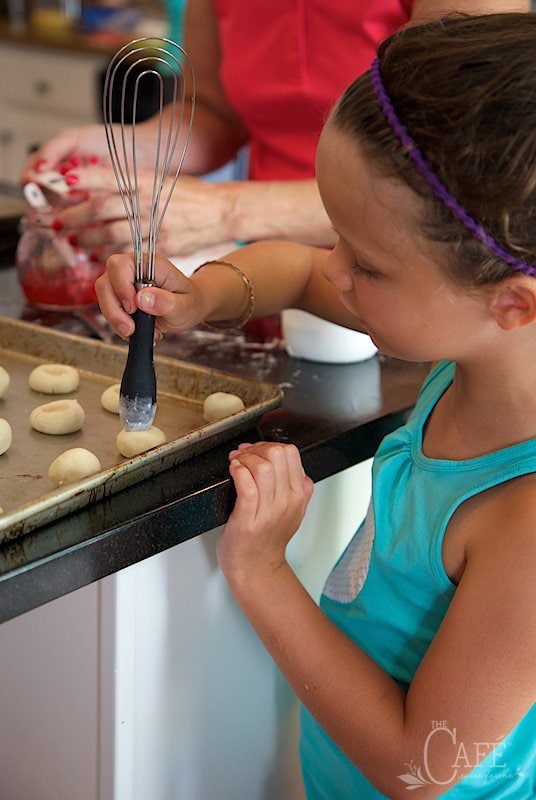
2.) When I make these with the children we just drizzle the icing on with a spoon or the prongs of a fork. If I want them to look really pretty and professional, I pour the icing into a little plastic squeeze bottle and drizzle it on that way for straight, perfect drizzling.
Leave a Reply