This post may contain affiliate links. For more information, see our privacy policy.
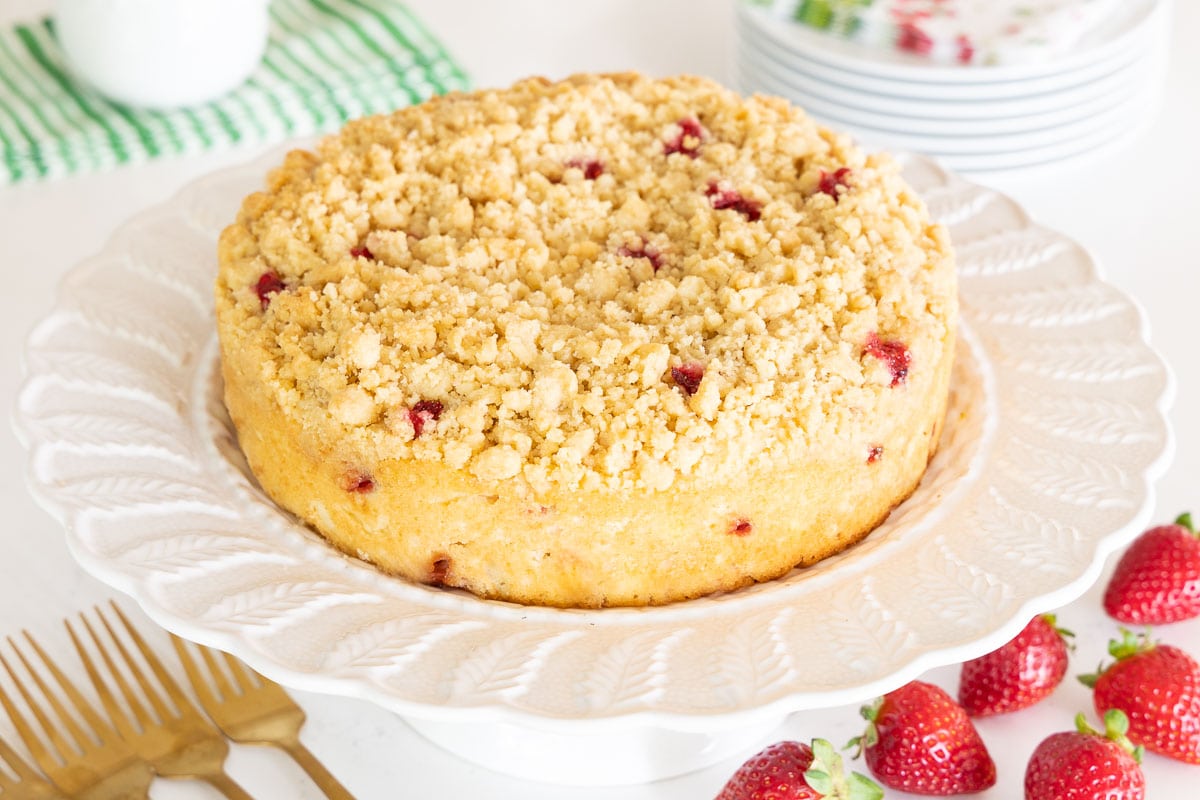
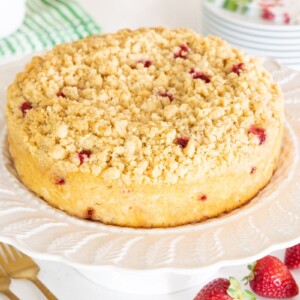
With bits of sweet fresh strawberry, a moist tender crumb and a buttery crisp crumble topping, this Strawberry Crumb Cake is SO delicious! On top of that, it's ridiculously easy to make - just stir it up in a bowl, no mixer needed!
I love baking with strawberries. Well, I should clarify that; I used to be really frustrated every time I baked with strawberries because they have a high moisture content. My baked goods would turn out soggy, pink-tinged (not a pretty pink) and the strawberry flavor would be diluted. However, a few years ago, I learned a little magic step that changed all that. The first time I tried it was with these Strawberry Buttermilk Muffins and it worked like a charm. I definitely employed that simple little trick in this Strawberry Crumb Cake and I'm so happy with the results. I think you will be too!
Strawberry Baking Magic
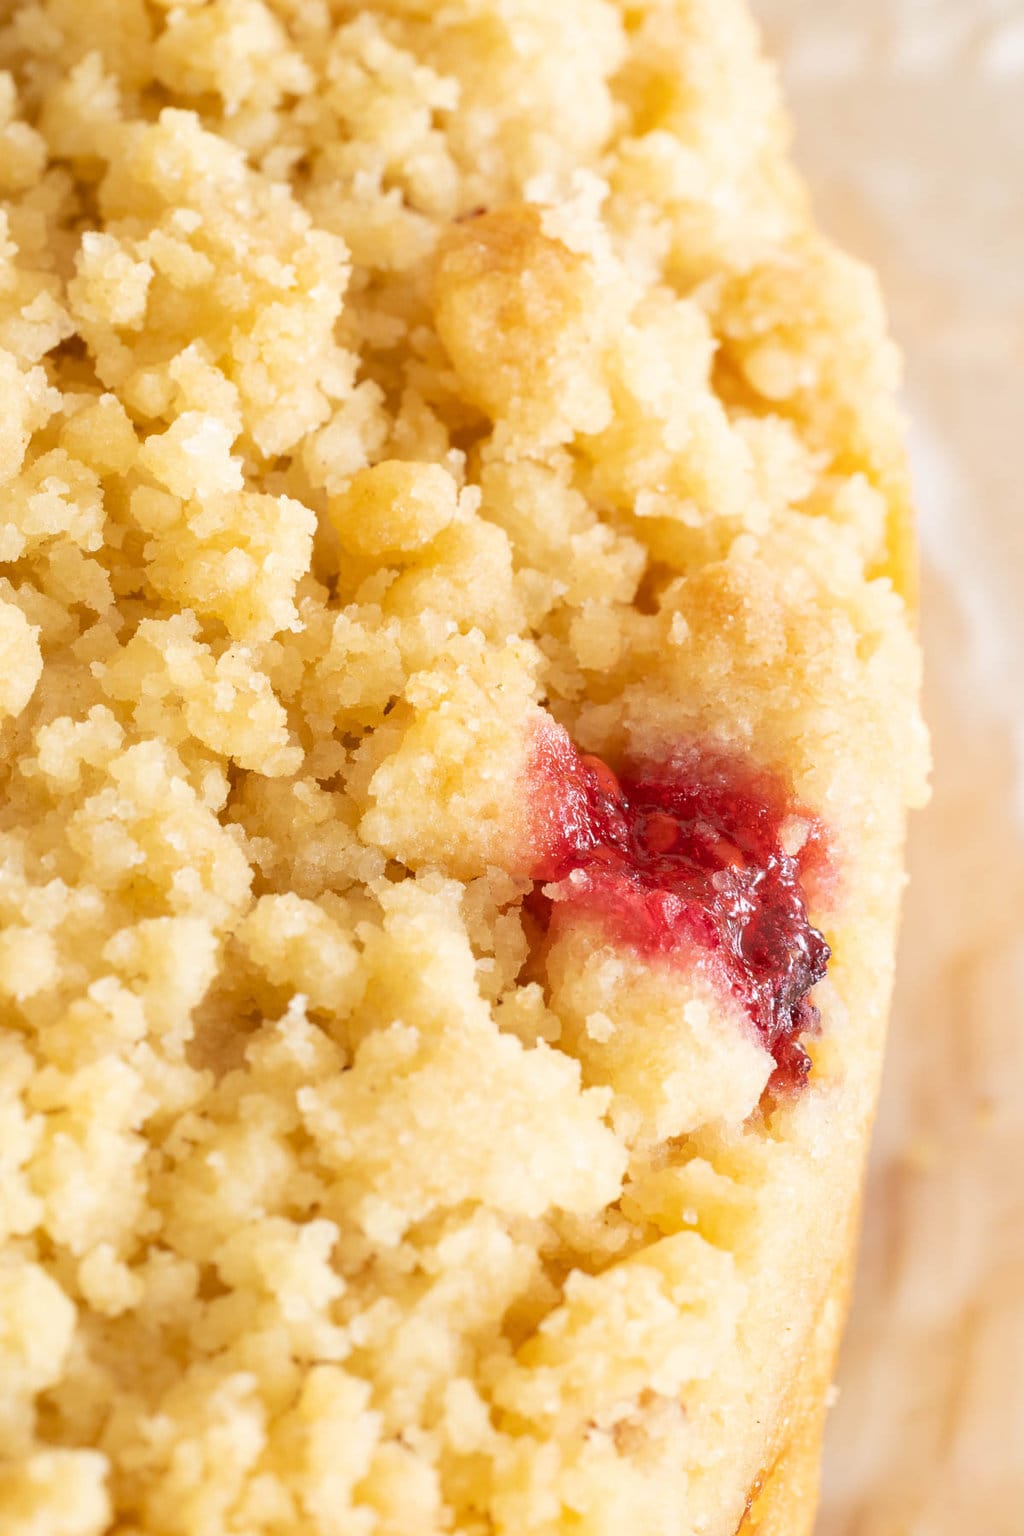
What's the secret to baking with fresh strawberries? It's so simple I can't believe I didn't think of it before. All you do is spread out the sliced or diced berries on several thicknesses of paper towels before you start anything else. I also like to cover them with additional paper towels and press gently to absorb the extra moisture. Then, proceed with the recipe preparation. When it's time to add the strawberries to the batter or dough, they're perfectly prepped and the excess moisture (that causes all the problems) is gone. Strawberry Baking Magic!
Ridiculously Easy
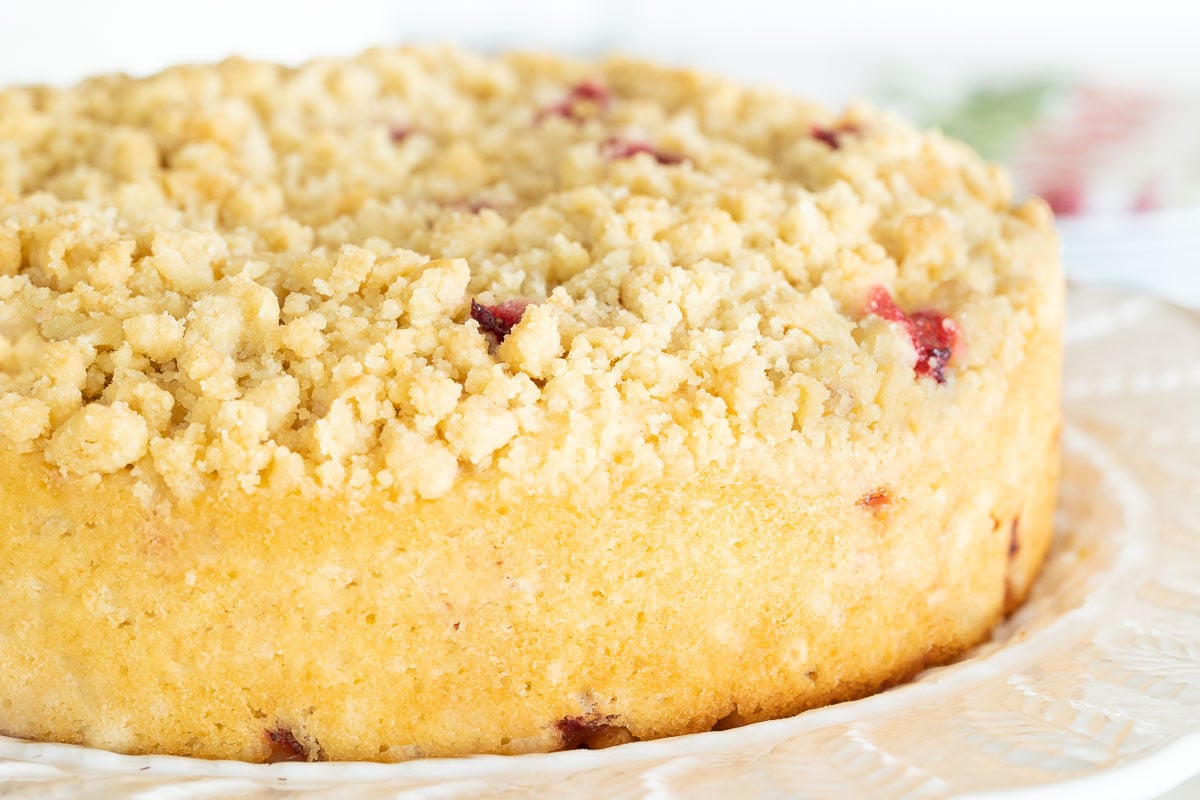
Why do I describe this Fresh Strawberry Crumb Cake as ridiculously easy? Well, first of all, because it is! The batter requires just one bowl and it's stirred up with a spatula or wooden spoon. The crumble topping is just as easy; basically, melt the butter add the other ingredients and stir it all together until big, beautiful crumbs form. Add the batter to a pan, top with the crumbs and bake. That's it!
However, there's another reason I call this recipe ridiculously easy. It's actually a whole category of recipes here at The Café, our Ridiculously Easy collection including cakes, tarts, scones, biscuits, jam, caramel corn, sauces, cookies... you name it! You can read all about our Ridiculously Easy recipes in this post and see the whole collection here but my postage-stamp definition of these recipes is that "they make you look like a kitchen rock star with minimal effort on your part".
Why does my cake dome in the center?
Have you ever had this happen? You finish preparing your cake batter, pour it in the pan, nicely even out the top and into the oven it goes. Next thing you know, you take a peek, and there's a dome-shaped cake in the pan. What happened? As the cake rises, the metal on the outside of the pan conducts heat faster around the edges than in the center. The sides of the cake start setting, but the center continues to rise and bake. Hence, the dome.
If a slight dome bothers you, you can use a "cake strip" to ensure a flatter top. These strips can create a layer of insulation around the outside of the cake pan. The insulation keeps the edges from baking too quickly and promotes even baking which prevents domes, cracks and problems with the cake collapsing in the center. I often use a cake strip when I bake cakes and find they really do work. I really like these velcro cake strips as they're super easy to use and adapt well to different size cake pans.
With or without
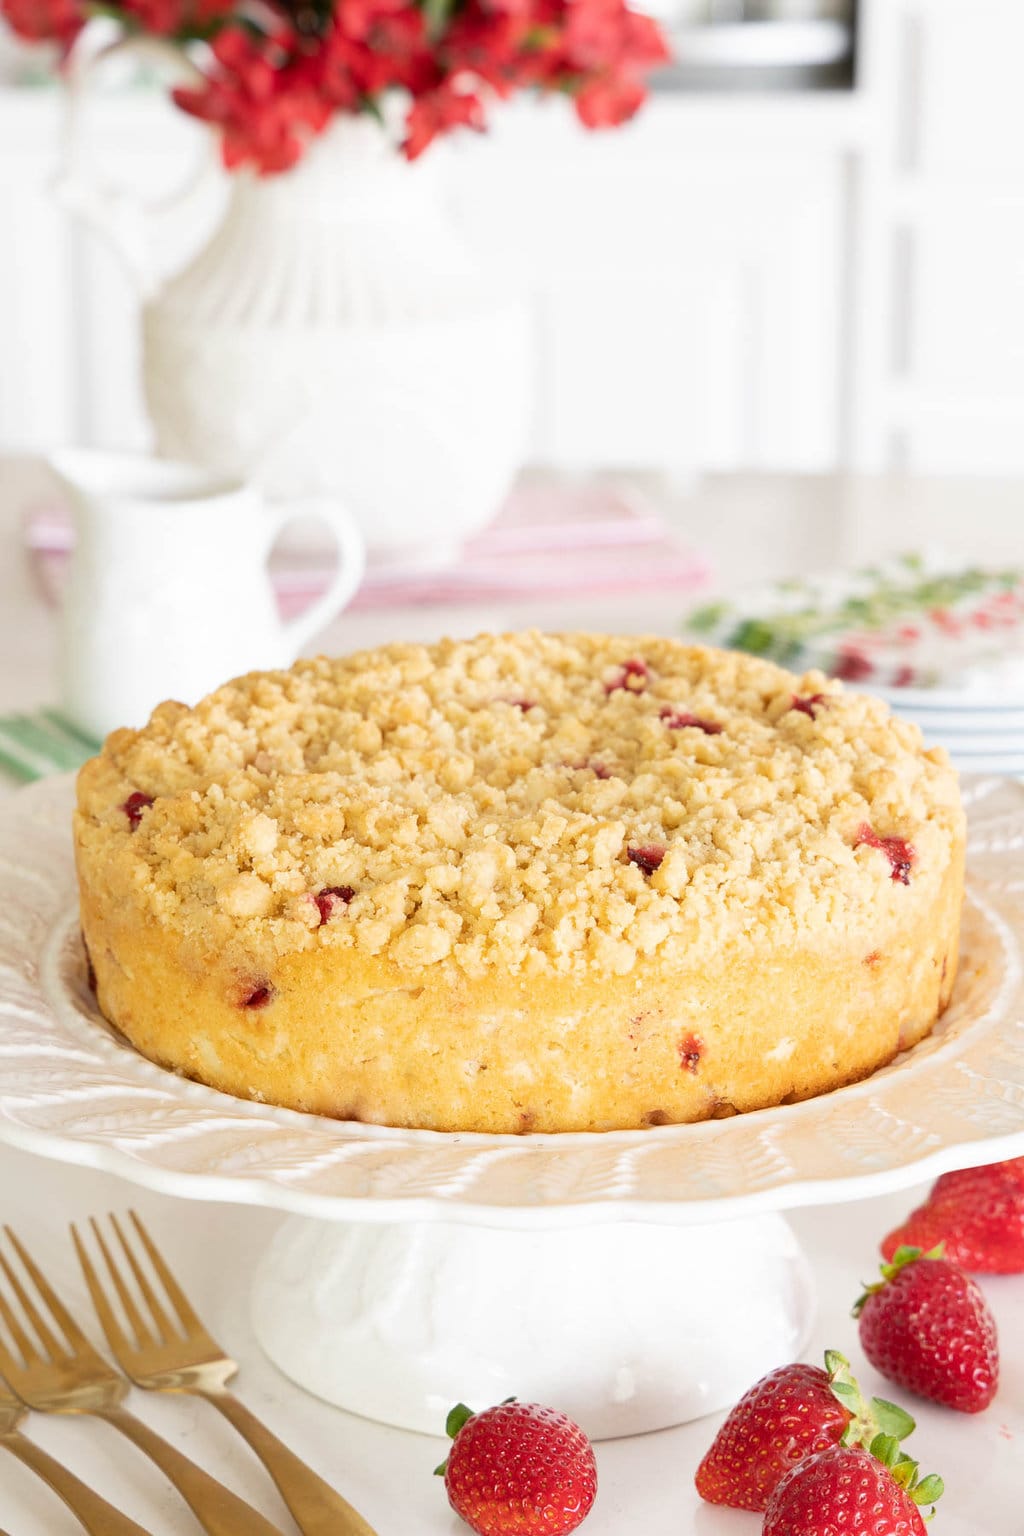
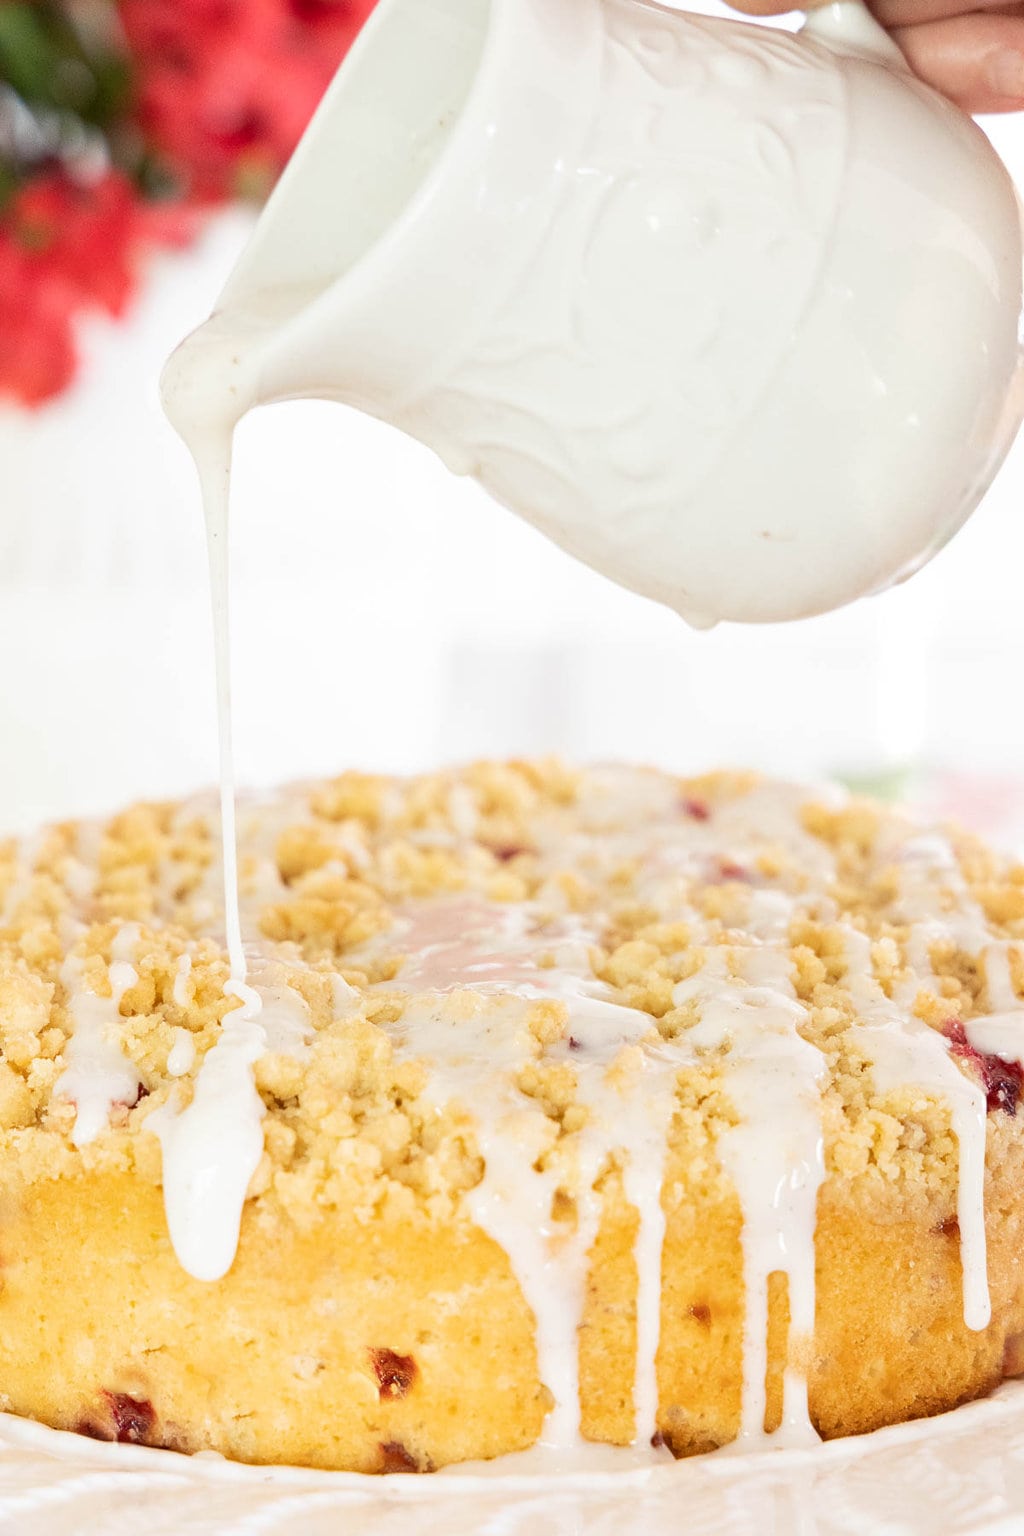
Although this Strawberry Crumb Cake is fabulous on its own, sometimes I like to add a light shower of powdered sugar. I've also included an optional glaze in the recipe below that is delicious and makes a pretty presentation. You can add as little...
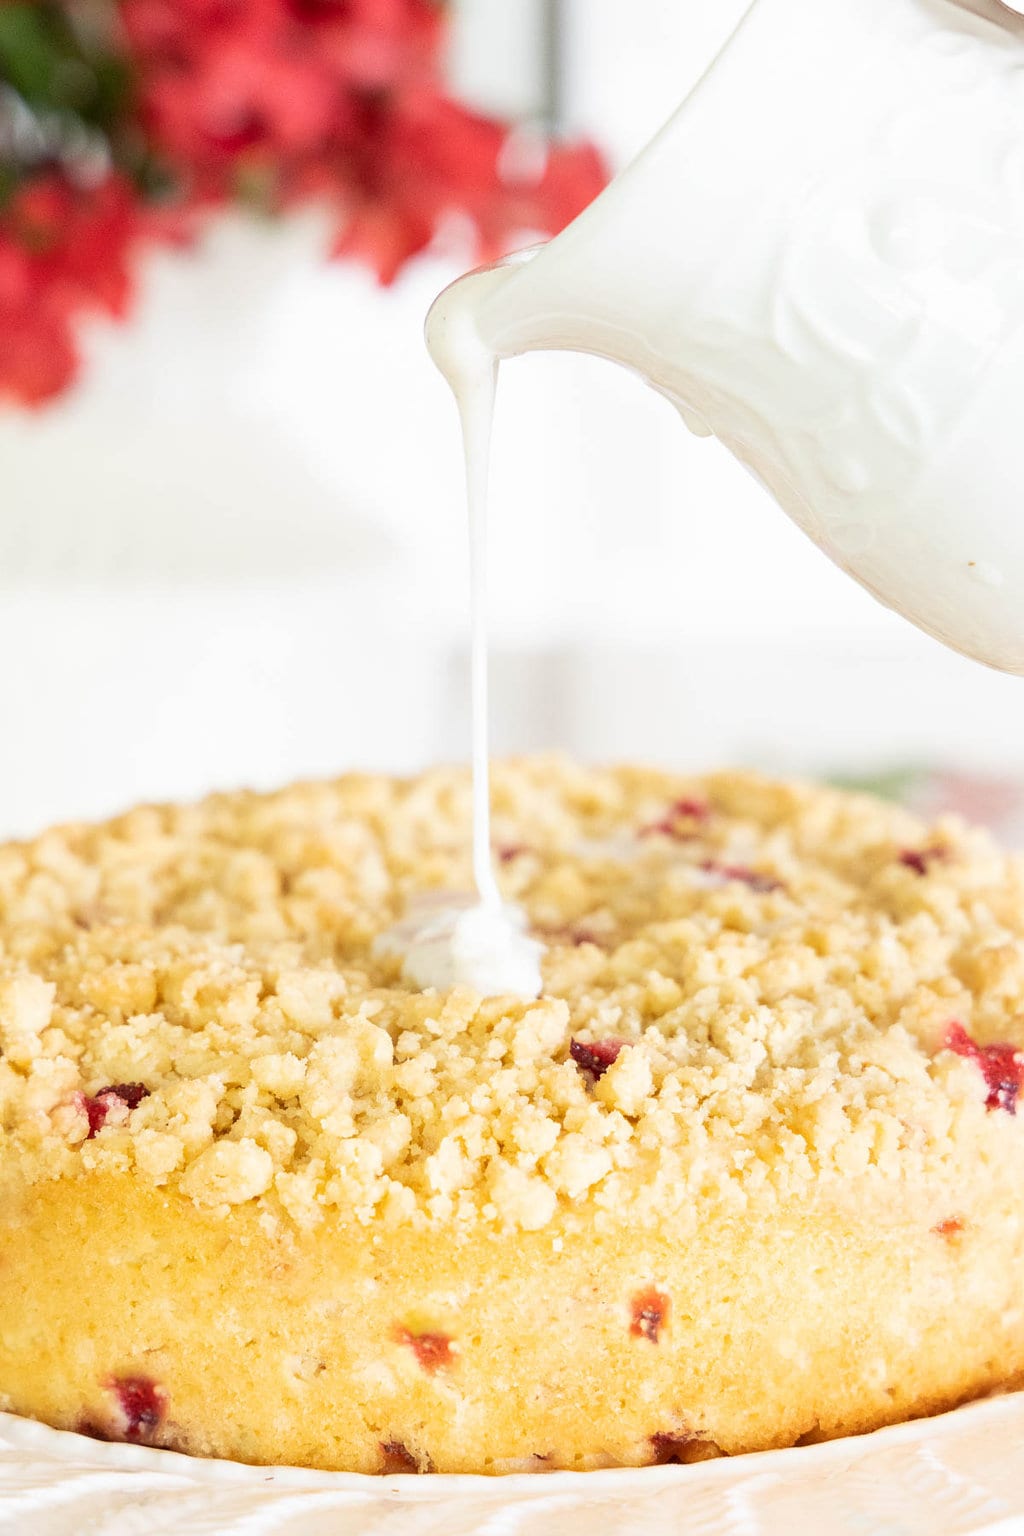
or as much, as you like!
I've served this Fresh Strawberry Crumb Cake for breakfast, brunch and as a dessert. It would also be great for an afternoon tea or a picnic. It's a delicious treat to serve any time of day!

Café Tips for making this Fresh Strawberry Crumb Cake
- Be sure to follow the directions for this cake in the order they are given. You start with the strawberries to ensure some of the juice will be removed before you add them to the cake. The crumble also gets made ahead so that it has a chance to cool a bit before topping the cake. This ensure nice big crumbs.
- This recipe calls for an 8-inch round cake pan with sides that are at least 2 inches tall. If your pan has less than 2-inch tall sides, use a 9-inch pan. The finished cake will be a bit lower.
- I love this textured 8-inch cake pan. I've had mine for years and it's held up well.
- Just a note to be aware of - you can use an 8-inch square cake pan but be aware that the cake won't be as tall. The bottom surface area of an 8-inch round pan is 50 square inches whereas the bottom surface area of an 8-inch square pan is 64 square inches.
- I like to like my cake pans with a circle of parchment paper on the bottom. You can cut your own by placing your cake pan on a piece of parment paper then tracing a circle around it and cutting slightly inside the line. I love these pre-cut parchment circles - they're super reasonable and save lots of time when baking.
- No buttermilk? No problem! You can make your own substitute by adding 1 tablespoon of white vinegar to a liquid measuring cup. Fill the cup with milk up to the 1-cup line and give it a good stir. Wait 5 minutes then stir again - that's it! The milk will thicken just a bit over the 5 minutes.
- The best way to determine if a cake is done is to use an instant thermometer. The internal temp in the center of the cake should read 200-210˚F. Instant thermometers are super useful in the kitchen and are reasonably priced.
- I like using a large cake spatula to transfer my cakes from the cooling rack to a platter or cake stand.
- For those of you living outside of the U.S., half-and-half is a convenience product that's often used here in coffee. It's simply a combination of half milk and half cream.
- The traditional way to test the doneness of a cake is with a toothpick inserted into the center. It will come out clean when the cake is done. The best way to test for doneness, however, is with an instant thermometer which should read 200-210˚F (93-100˚C). This is a great instant thermometer.
Thought for the day:
And we have this HOPE
as an anchor for the soul,
firm and secure.
Hebrews 6:19
What we're listening to for inspiration:
Hope Has A Name

If you enjoy this recipe, please come back and leave a star rating and review! It's so helpful to other readers to hear your results, adaptations, and ideas for variations.
Scroll Down for the Recipe - or Save It to Your Inbox
We’ll email you the recipe so it’s easy to save, print, or share.
Fresh Strawberry Crumb Cake
Ingredients
For the strawberries:
- 1 cup diced fresh strawberries, I like to dice them into ¼-inch pieces
For the crumble:
- 6 tablespoons butter, I use salted
- ½ teaspoon baking powder
- ¾ cup all-purpose flour
- ¼ cup light brown sugar, packed
- ¼ cup granulated sugar
For the cake batter:
- ¼ cup very soft butter, I used salted
- ¾ cup granulated sugar
- 1 large egg
- 1 teaspoon vanilla extract
- ¼ teaspoon almond extract
- 2 teaspoon baking powder
- ½ teaspoon kosher salt
- 1 ½ cups all-purpose flour
- ½ cup buttermilk, see Café tips
For the optional drizzle/glaze:
- 1 cup powdered sugar
- 1-2 tablespoons half-and-half or milk
- ½ teaspoon vanilla extract or vanilla bean paste
Instructions
For the prep:
- Preheat the oven to 350˚F. Spray an 8-inch round cake pan (with sides that are at least 2 inches tall. If you pan is lower than 2 inches, use a 9-inch round cake pan) with baking spray. Line the bottom of the pan with a circle of parchment paper. Set aside.
For the strawberries:
- Place several thicknesses of paper towels onto a work surface. Transfer the diced strawberries to the paper towels and spread them out to a single layer. Top with several more layers of paper towels and press gently over the surface. Allow the berries to sit while you prepare the crumble topping and the cake batter.
For the crumble:
- Place the butter in a microwave-safe bowl and cook on high power for 1 minute or until melted. (I like to cover the bowl with a slightly damp paper towel to prevent any splattering.)
- Add the baking powder and stir to combine. Add the flour and sugars and stir with a fork until nice crumbles form. Set aside.
For the cake batter:
- Combine the soft butter and sugar in a medium-size bowl. Stir together until well combined. The mixture will be a little sandy at this point.
- Add the egg, vanilla and almond extracts and stir well for about 30 seconds until the mixture is nice and smooth and is slightly lighter in color.
- Add the baking powder and salt and stir until well combined. Add approximately ⅓ of the flour (no need to be exact) and stir until the flour is incorporated. Add half of the buttermilk and stir again, just until combined. Repeat this again then add the last ⅓ of the flour. Don’t over-mix at this point. You just want to stir until the flour disappears.
- Add the drained strawberries and stir gently to distribute them throughout the batter. (I like to reserve a few of the diced berries to peak through the crumb topping but this is optional.)
- Transfer the batter to the prepared pan and smooth the top.
- Scatter the crumbs over the top of the batter. Tuck in the reserved bits of berries randomly between the crumbs (if using).
- Bake for 35-45 minutes or until done in the center. You can test the doneness with a toothpick inserted into the center of the cake which should come out clean. The best way to test for doneness is with an instant thermometer which should read 200-210˚F (93-100˚C).
- Allow the cake to cool in the pan for 10 minutes then invert onto a plate and remove the pan. Invert a second time onto another clean plate so that the crumb side is up. Serve as is or with a sprinkle of powdered sugar. You can also drizzle it with the optional glaze.
For the optional drizzle/glaze:
- Combine all ingredients in a small bowl or glass measuring cup. Stir with a fork or small whisk until smooth and well combined. It should be very thick but pourable. If too thin add a bit more powdered sugar. If too thick, thin with a little more half-and-half or milk.
- Drizzle the icing back and forth over the crumb topping.
Notes
Nutrition
Shop Our Café Loves
We’ve gathered our favorite kitchen tools, tableware, and entertaining treasures in one place, the Café Loves store. It’s a wonderful spot to find something special for yourself or the cooks and hosts you love!


Sorry. I missed the strawberry ingredient myself
Hi Sue, it’s the very first ingredient.
I can’t find where it says the amount of strawberries to use
Good morning Chris,
I tried twice now to post a comment and it won’t let me do it. I first asked why I can’t copy and paste your Notes section like I’ve always done before for your recipes but also can’t do it for your Ridiculously Easy Korean Corn Cheese Recipe. I’ve tried multiple times and even rebooted my iPad and still can’t do it.
I appreciate any help or suggestions you can give me.
I can’t wait to try this with strawberries and rhubarb!
Hope your weekend is a great one.
Thank you.
Susan
Hi Susan, I'm so sorry you've had this problem. Honestly, I'm not sure why it's happening, as I just tried to copy and paste the Tips from this post and it worked fine on my computer. We haven't set any restrictions on copying and pasting so it might be something that's interfering in your browser or browser settings. That said, going forward with new recipes, I'm adding the Café Tips to the Note section of my recipe cards.
This was d e l i c i o u s!! I am not a cake lover, but I could not stop nibbling on this cake.
Removing the water from the strawberries worked perfectly. All the flavor was there, but without sogginess. Thank you!
Awesome! Thanks for the review, Tamara!
This is a great recipe, it has a wonderful natural strawberry flavor that is present without being over or underwhelming and can be tasted throughout the cake- not just when you eat a strawberry bit. The texture of the cake and crumb create a fluffy ‘crunch’ that very satisfying. This will definitely be a staple in my recipe book. Thank you! I look forward to trying the other cake recipes from the “Summery- one bowl cake recipes” email 🙂
Awesome! Thanks for letting us know, Sarah!
Hi! Just found your website and have been saving so many of your recipes to try! This cake looks so good! I'm wondering if it could be made gluten free since I'll be having some guests over soon who are GF. I have Bob's Red Mill 1:1 Baking Flour.
Thanks, Theresa! Yes, this will work with GF flour. Enjoy!
Can I skip the almond extract?
Hi Anne, yes that's fine. Enjoy!
Dear Chris,
Absolutely love your recipes! I am going to make it tonight for Mother’s Day. Any suggestion how to store it overnight, so it stays fresh until tomorrow?
Thank you and best regards!
Liza
Thanks Lisa! If you cover it lightly with plastic wrap or put it under a cake dome it will be fine!
This looks amazing! I was wondering if I could use cake flour instead of all purpose flour? If yes would it be risky, and what if anything could go wrong? Thank you
Hi Amanda, that will work fine!
Could I make this with fresh blackberries? Looks great!
I haven't tried this recipe with blackberries. Being that they're fairly large and juicy they might make this cake soggy. Again, I haven't tried it with blackberries so I can't say for sure. I think blueberries would work well!
Could sliced, frozen strawberries be used? If yes, would you thaw?
Hi Pam, I would not use frozen strawberries for this recipe as the moisture content is so high, the cake will get be wet and won't bake well.
DELICIOUS! Very easy, and I doubled recipe, and used 9" pans-they were perfectly baked after 45 minutes. I put one in the freezer for later!
Yay! So happy you enjoyed it, Pam!
Incredible cake. Light in texture but rich in taste at the same time. We didn't make the glaze and really liked that the cake was only lightly sweet.
Thank you for your review, Laura! So glad you enjoyed it.
I made this cake yesterday and it is oh so delicious. However, I had to bake it for about 20 minutes longer than stated in the recipe what resulted in a little darker crumbs, but it was still very very tasty.
Hi Jasmin, so happy you enjoyed this cake!
Regarding the baking time, every oven is a little different. The best way to determine doneness is with an instant thermometer which should read 200-210˚F.
I haven't tried the recipe, but I wondering if this recipe would work well with rhubarb too?
I think it would be delicious with rhubarb!
Hi Michelle, I think it will work great with rhubarb!