This post may contain affiliate links. For more information, see our privacy policy.
This Italian-inspired Tomato Basil Parmesan Focaccia may just be one of the most delicious things you ever put in your mouth!
The first bite of this Tomato Basil Parmesan Focaccia had both Scott and I quite ridiculously smitten.
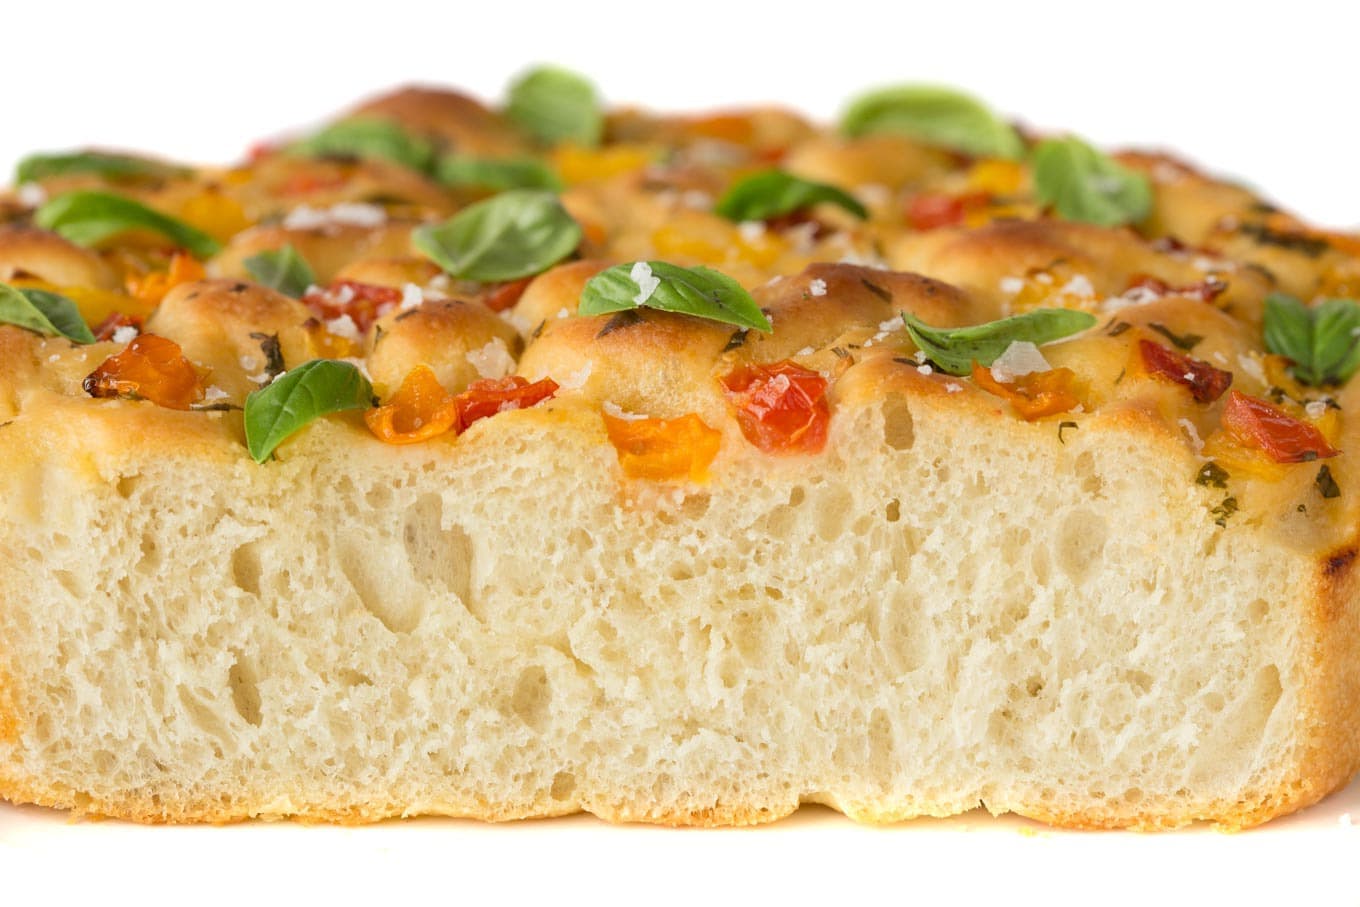
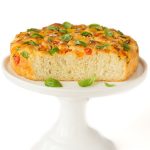
I stumbled across the recipe on The Food Network several months ago. Just the fact that 209 cooks gave the Italian-inspired bread a 5-star rating aroused my curiosity. After reading many of the rave reviews, I couldn't resist giving it a go. I followed the directions fairly closely the first time, although I did cut back on the oil and baked the bread in three 8" round pans instead of the specified sheet pan. The aroma as the bread baked was heavenly, and when it emerged from the oven all golden and deeply dimpled, it was irresistible!
An unusual step
There was one step of the directions that was quite intriguing to me. Focaccia dough is typically "dimpled" just before the second rise. What this entails is pushing on the dough with your fingers creating little indentions which are then drizzled with olive oil and result in a craggy, fun surface on the finished bread. This recipe calls for actually tearing holes in the dough as you dimple it. As I began the process, I wondered if this would make any difference.
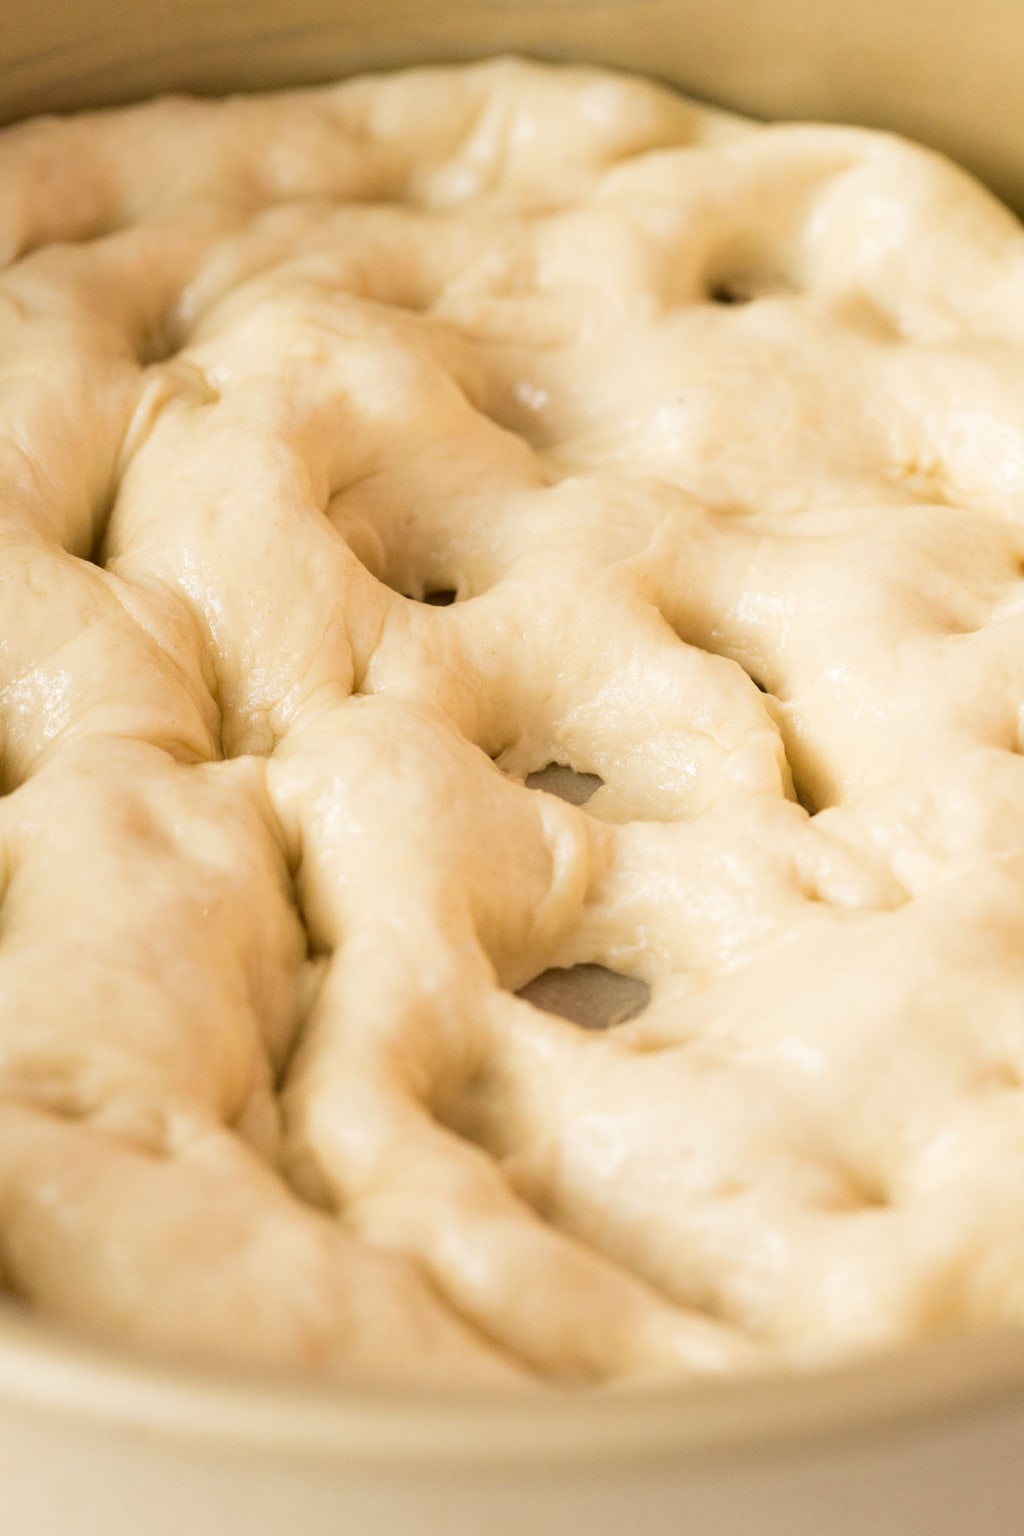
Wow, it was surprising what a difference it made! In the past, my focaccia seemed to always lose much of the beautiful dimpled cragginess as it would rise and bake - but not this bread. I'm going to try this technique with another favorite focaccia, my Rosemary and Black Pepper Focaccia!

It seems making the holes was the secret step I've been missing!

Lots of variation options
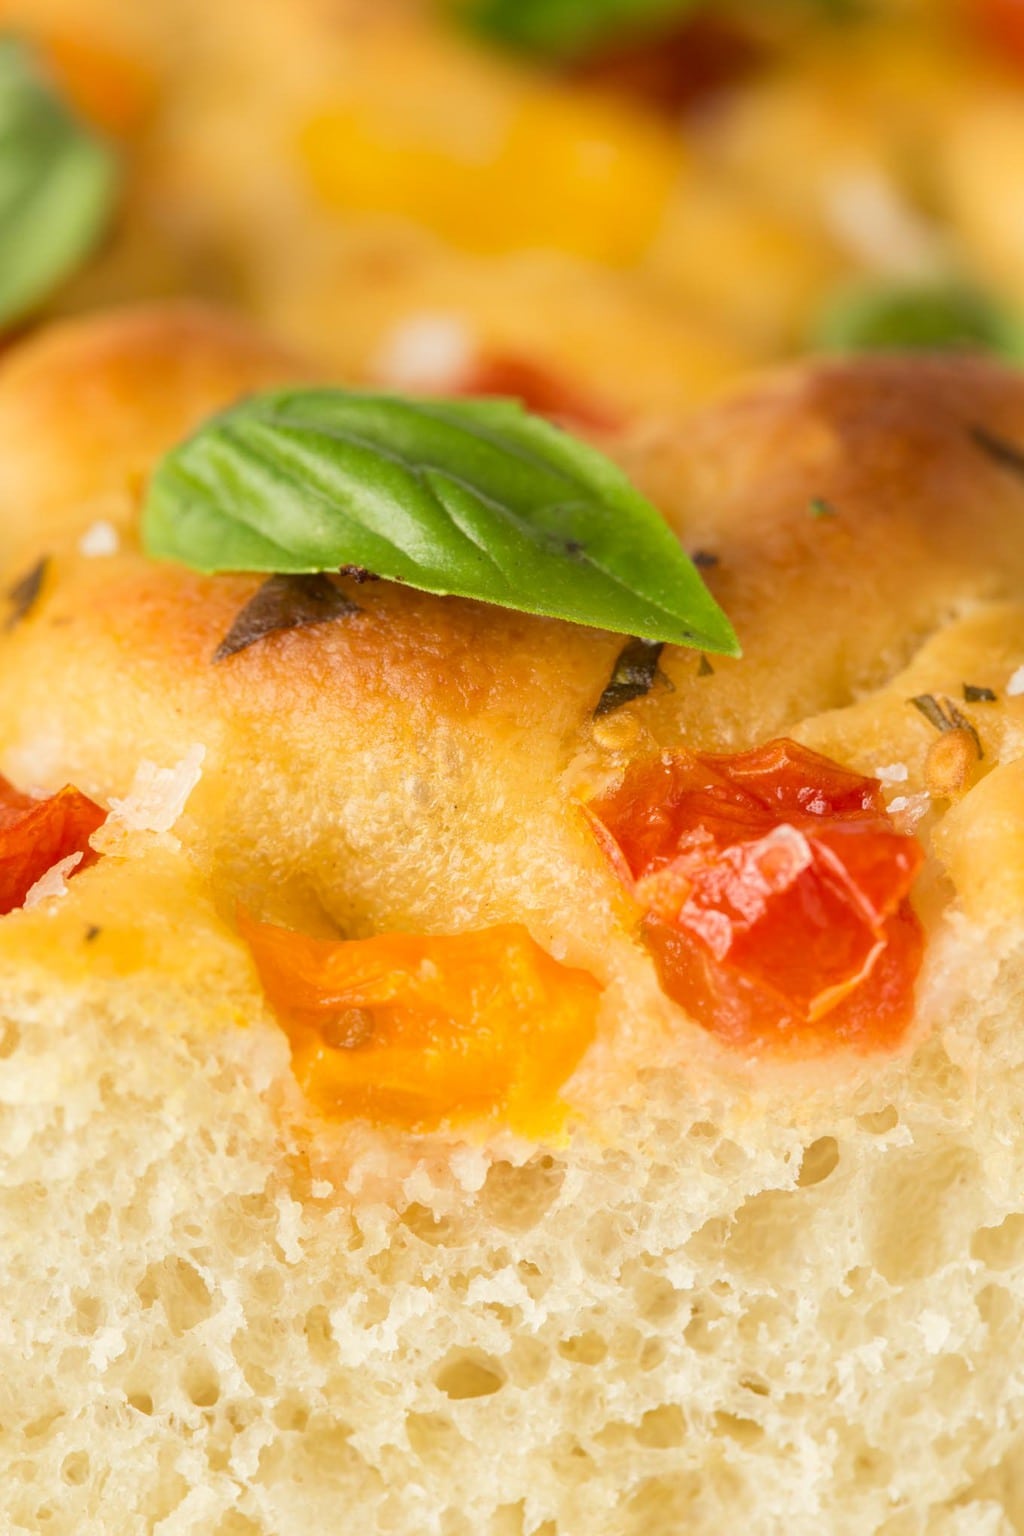
After making the bread a few times, I decided to get a little creative. I added grated parmesan cheese to the dough, topped the focaccia with diced red and yellow tomatoes and added a sprinkle of finely chopped fresh basil before the final rise. Talk about a delicious explosion of summery flavor!
I've served this focaccia as a dinner bread and have also used it for sandwiches (my favorite is rosemary ham, thin slices of Fontina or Gouda cheese and a smear of coarse grain mustard). All our taste testers have loved it at the very first bite!
If you're hesitant about using yeast, I've given a few tips in the directions below. I like to buy the bulk yeast from big box stores like Sam's or Costco. It's a large quantity of yeast, but it's dirt cheap and will keep indefinitely in the freezer. I keep a small jar in the fridge and freeze the rest. If you don't have access to one of these stores or don't want to purchase it in quantity, regular dry yeast from any grocery store will work just fine.
I really prefer to make this Tomato Basil Parmesan Focaccia bread in three 8-inch pans, which allows us to enjoy one and pop the others in the freezer. To serve after freezing, just thaw and warm in the oven for 10-15 minutes wrapped in foil. It comes out just great!
If you're looking for a fabulous treat for family, friends or guests, set aside a little time to make this wonderful focaccia. You'll need a total of around 3 hours, but the good news is that most of it is hands-off rising time. The mixer will do all the kneading and the only hands-on time involved is measuring the ingredients and dimpling (tearing!) the dough. If you don't have a stand mixture or prefer to knead by hand, you'll need to allow a bit more time.
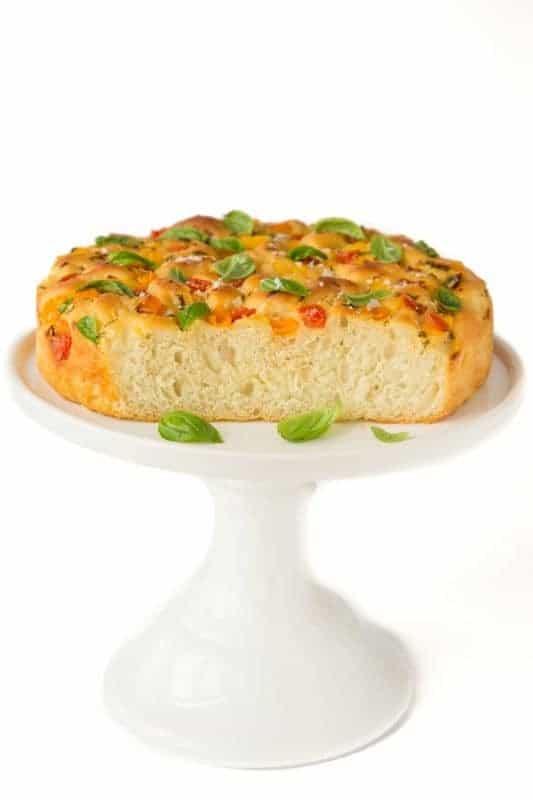
So take a delicious trip to Italy without ever leaving your own kitchen! And don't be surprised if the neighbors line up at your little trattoria, as the amazing aroma from this Tomato Basil Parmesan Focaccia wafts through neighborhood. Buon appetito!
Café Tips for making this Tomato Basil Parmesan Focaccia...
- Recipes involving yeast usually call for “warm” water. This can be a bit misleading as the ideal temperature for yeast to proof is 105-110˚F. If you feel water that’s 105˚F, it’s to me, a little warmer than “warm”. I call it hot tap water. It should feel hot but not so hot that you pull your hand back upon touching it. If you’re not used to working with yeast, I highly recommend using an instant read thermometer. They're inexpensive and can ensure good results.
- In the summer months it’s not too hard to find a warm spot for the dough to rise. If your kitchen is chilly however, a little trick I like to use, is to put the dough in the microwave and cover with a clean towel. Let the towel stick out of the microwave just a bit and close the door so that the light stays on. The heat from the light is perfect to create a warm environment for rising.
- Don’t try to use less oil than the recipe calls for. This may seem like a lot, but I’ve cut it back considerably from the original recipe. Focaccia is an oil crusted bread. That's why this Tomato Basil Parmesan Focaccia is so delicious!
Here are a few items I used to make and serve this Tomato Basil Parmesan Focaccia.
- 1 ¾ cups warm water*
- 2 ½ teaspoons active dry yeast OR 1 package .25 oz.active dry yeast packet
- 1 tablespoon sugar
- 5 cups all-purpose flour plus additional for kneading
- ½ cup finely grated parmesan cheese
- ¼ cup extra-virgin olive oil
- 1 tablespoon kosher salt plus coarse sea salt, for sprinkling
- 1 ½ cups diced tomatoes I like to use yellow and red
- 2 tablespoons finely chopped fresh basil
- 6 tablespoons extra-virgin olive oil plus a bit extra for drizzling
-
Fill a medium size bowl with hot water. Allow to sit for 5 minutes then discard water (this helps make a nice warm environment for your yeast to proof) and add the 1 ¾ cup warm water*, yeast and sugar. Stir to combine.
-
Put the bowl in a warm place until the yeast is bubbling and aromatic, 5-10 minutes.
-
In the bowl of a stand mixer, fitted with a dough hook, combine the flour, parmesan cheese, 1 tablespoon of kosher salt, ¼ cup olive oil and the yeast mixture on low speed. Once the dough has come together, continue to knead for 8 minutes on medium speed until it becomes smooth and soft.
-
Loosen the dough hook and remove bowl from mixer. Remove dough hook, scraping into bowl any dough that has clung to it. Move dough to one side of the bowl with your hand or a spatula. Drizzle a small amount of olive oil (about a teaspoon) into the bottom of the mixing bowl and turn dough a couple of times to coat with oil. Cover with a clean kitchen towel and place bowl in a warm place** till doubled in size, about 1 hour.
-
While dough is rising, place diced tomatoes in a colander set over a bowl. Sprinkle lightly with salt (about ¼ teaspoon) and let the tomatoes drain until ready to use. (This will keep the finished bread from being too wet.)
-
Add 2 tablespoons olive oil to each of the three 8-inch round (or square) baking pans and rub the oil around with your fingers to completely coat the bottom and sides of pan. (Don’t try to use less oil. This may seem like a lot, but I’ve cut it back considerably from the original recipe. Focaccia is an oil crusted bread. That's why it is so delicious!)
-
Divide the dough as evenly as possible between the 3 pans. With oiled fingers, begin pressing the dough out to fit the pans. Turn the dough over to coat the other side with the olive oil. Continue to stretch the dough to cover the bottom of the pans. As you are doing so, spread your fingers out and make finger holes all the way through the dough. Not just dimples, but actually tear holes in the dough with your fingers as you press down. This might sound strange, but when the dough rises again it will create the characteristic craggy looking focaccia (see picture in post). If you don't make actual holes in the dough, the finished product will be smooth.
-
Pat the tomatoes with a paper towel to dry any surface moisture, then divide them evenly over the three pans. Sprinkle each pan with the finely chopped basil. Dimple dough again, pushing some of the tomatoes and basil down into the dough. Drizzle a bit more olive oil over tomatoes and cover pans with saran wrap and a clean kitchen towel.
-
Place the pans of dough in a warm place until dough has doubled in size, about 1 hour. About 15 minutes before dough in finished rising, preheat the oven to 400˚F. Sprinkle the top of the focaccia lightly with flaky sea salt or kosher salt. Bake until the top of the loaf is golden brown, about 25 to 30 minutes.
-
Remove the focaccia from the oven and let it cool for 5 minutes, then remove from pans and finish cooling on a wire rack. Cool completely before cutting. Cut into wedges for serving. Serve warm or at room temperature. Garnish with small fresh basil leaves, if desired.
Recipe Adapted from The Food Network


Donna says
I have made this today, and while it is delicious and super quick, I can't help but think that your Ridiculously Easy Focaccia Bread is better. I am sure that it is because of the long slow overnight rise in the fridge that gives the bread a wonderful texture and flavour. My question is could I add the parmesan cheese to that recipe as well without it altering the effects of the long slow rise?
Chris Scheuer says
Hi Donna, we love that ridiculously easy focaccia too! Regarding your question, it would be fine to add Parmesan.
Millie Law says
Hi Chris,
Would love to try this recipe but I do not have a standing mixer with hook. Is there a workable alternative?
Thanks very much,
Millie Law
Chris Scheuer says
Hi Millie, I have found that you don't really need a mixer for bread. Just mix it as much as you can by hand, then transfer to a lightly floured work surface and knead the dough by hand.
Pat K says
Do you think it would be ok if topped with some olives also? And do you think olives would be ok if freeze it
Chris Scheuer says
I think olives would be fantastic! And yes, I think they'd freeze fine. I might roll them around in the olive oil a bit.
Sharon says
This recipe is wonderfully versatile (in addition to being tasty) and, as far as I can make out, no-fail, every time. This time around I experimented with making different bread shapes. After the first rise I divided the dough into three portions; one portion was roughly 55% of the dough, the 2nd portion roughly 50-60% of the remaining dough, and the third portion what was left. The first, larger portion became a single focaccia loaf, made that day. I placed the other two portions in two separate bowls and refrigerated them. In a day or two, I removed the mid-sized portion of dough and formed it into a baguette. It rose beautifully (about 1-1/2 hour) and baked it the same as the focaccia, 400 degrees for roughly 25 min. With the smallest portion of the dough, a few days after that, I made a dozen breadsticks, thinly rolled out and allowed to rise in that shape. All worked out marvelously, browned perfectly, and tasted great. For the breadsticks, I kept the temp. at 400 degrees but shortened the bake time. I will make this bread recipe over and over.
Alba says
Wooow! i tried it yesterday for dinner and its perfect! My boyfriend is also in love with the recipe. Thanks 😉
Janet says
I can't wait to try this bread! I'm a novice cook, so this might seem like a silly question, How are all 3 of the pans positioned in the oven? 2 on the middle shelf, & the 3rd where? Thank you!
Chris Scheuer says
Hi Janet,
That's a good question. Since these are baked in 8-inch pans, they'll all fit on the same rack. You may want to rotate the pans around a bit, halfway through the baking time, so they all bake evenly.